Apologies for the crappy picture quality. Since I moved, my good camera got packed away and I forgot which box it's in. So cell phone camera was my only option.
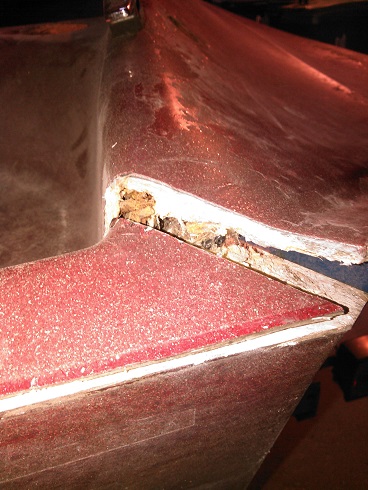
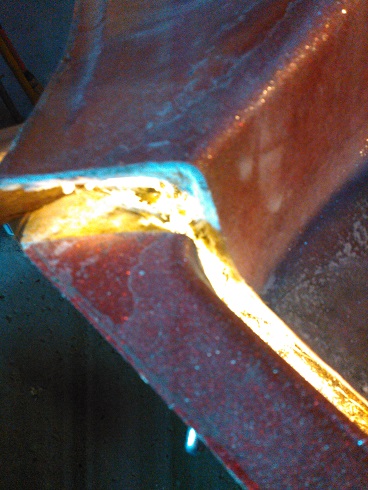
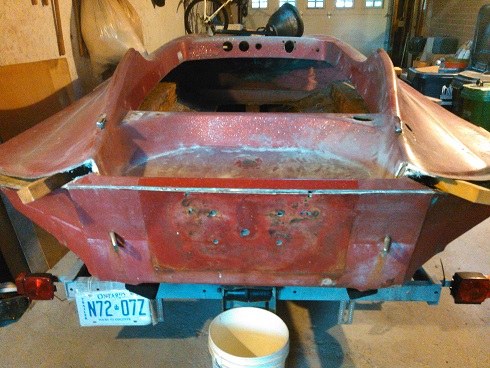
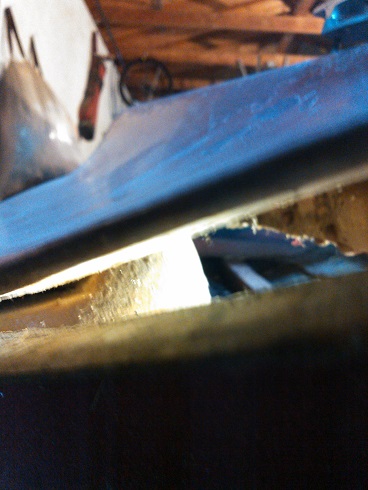
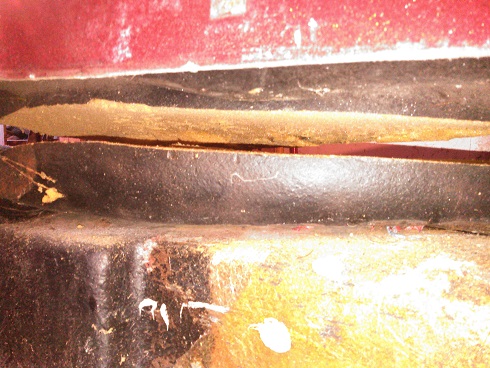
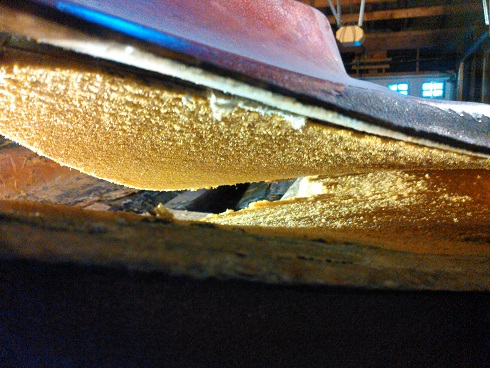
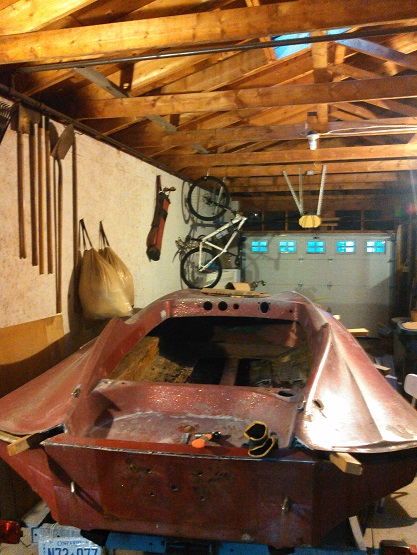
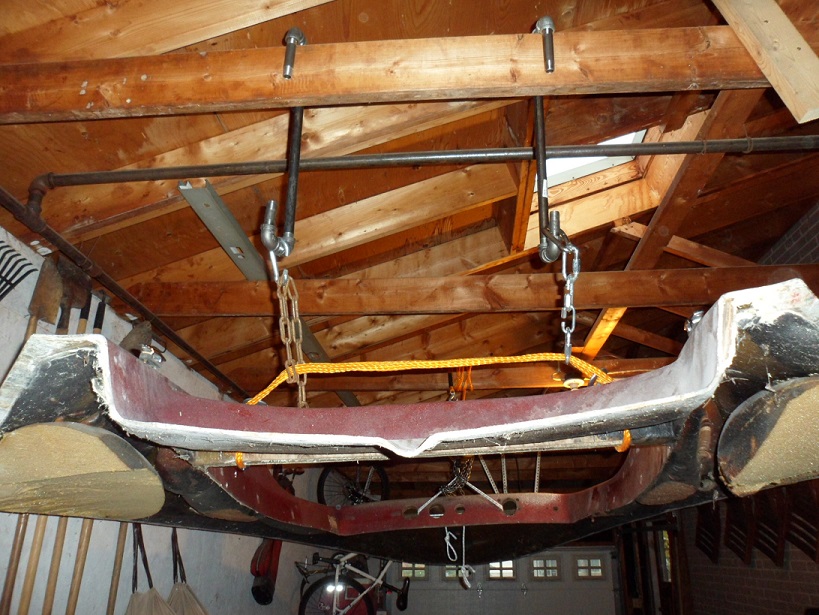
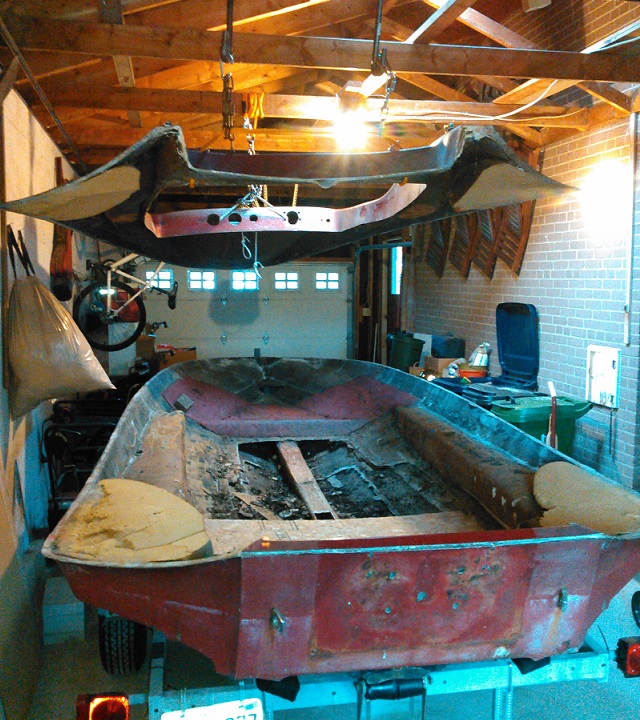
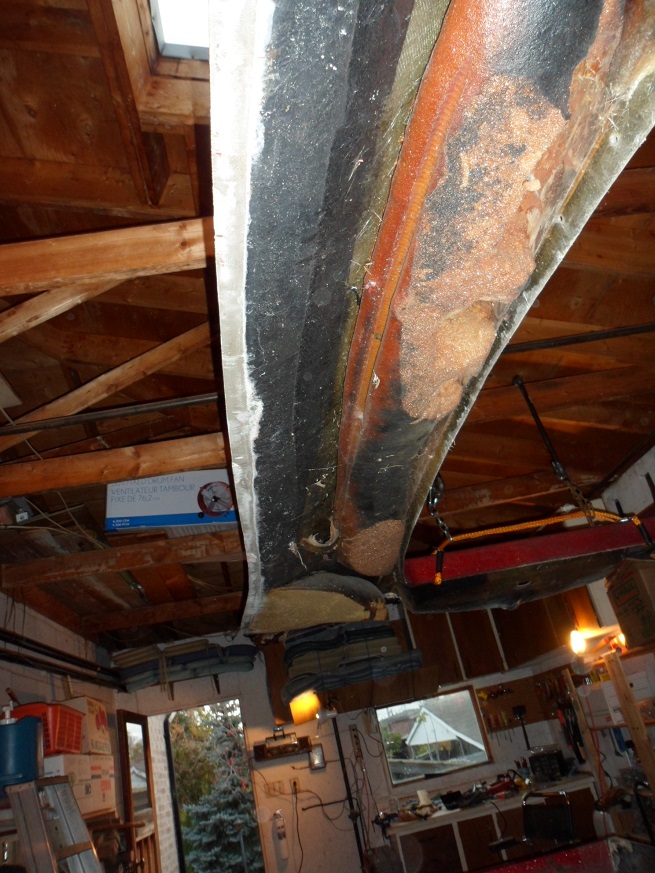
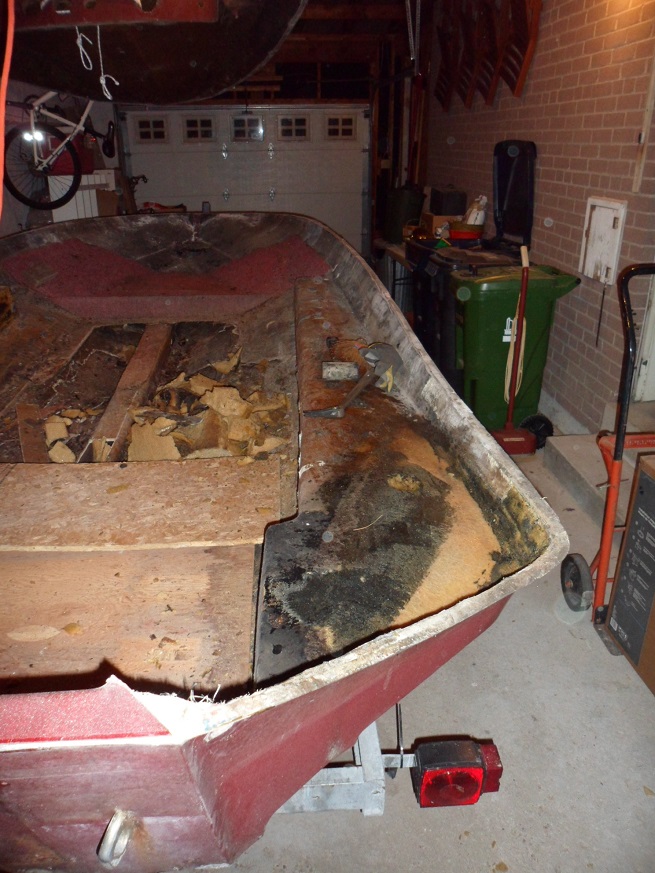
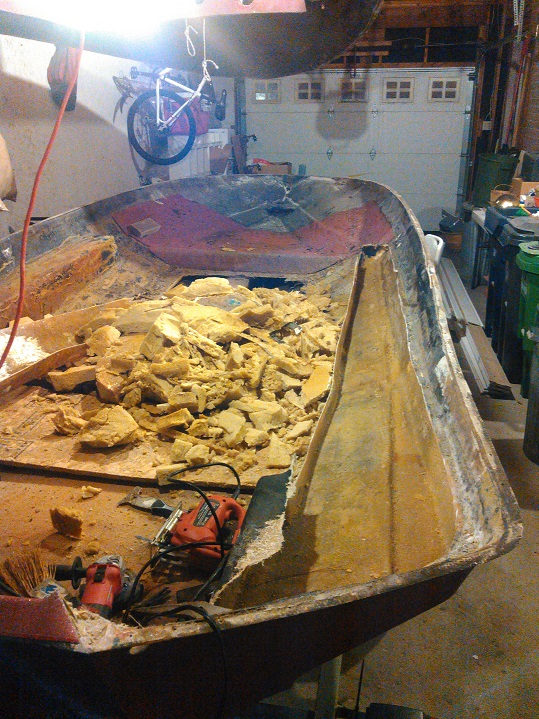
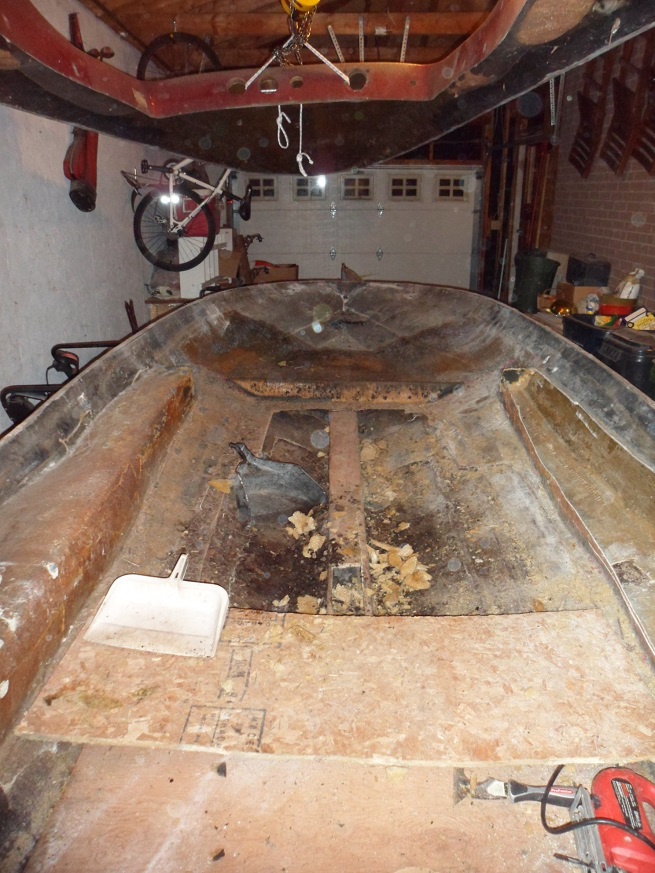
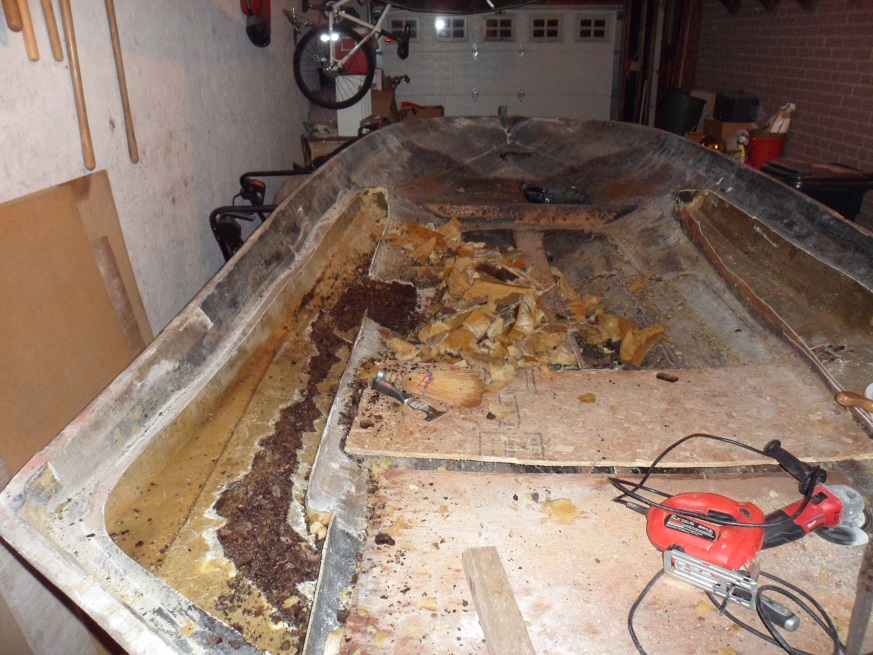
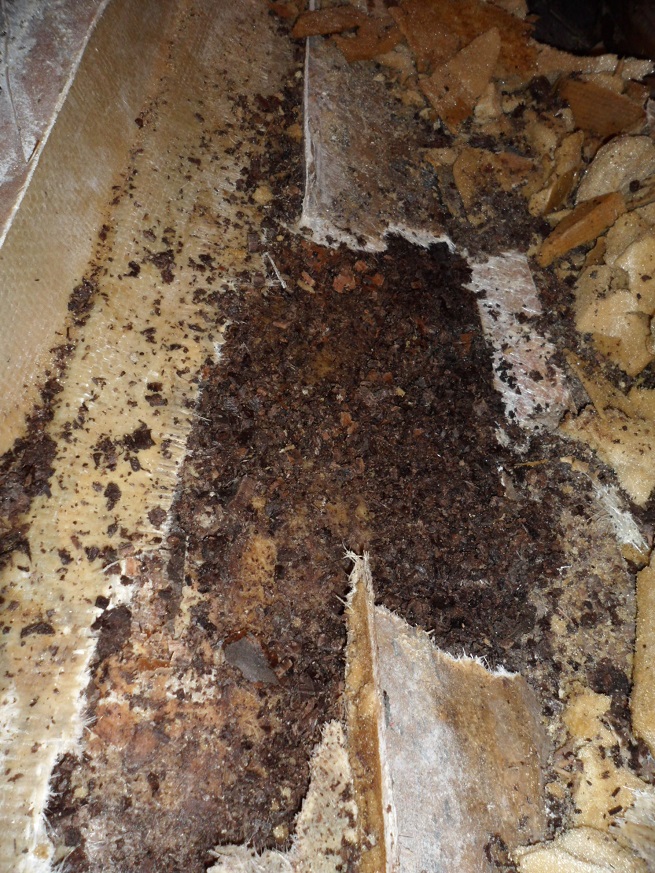
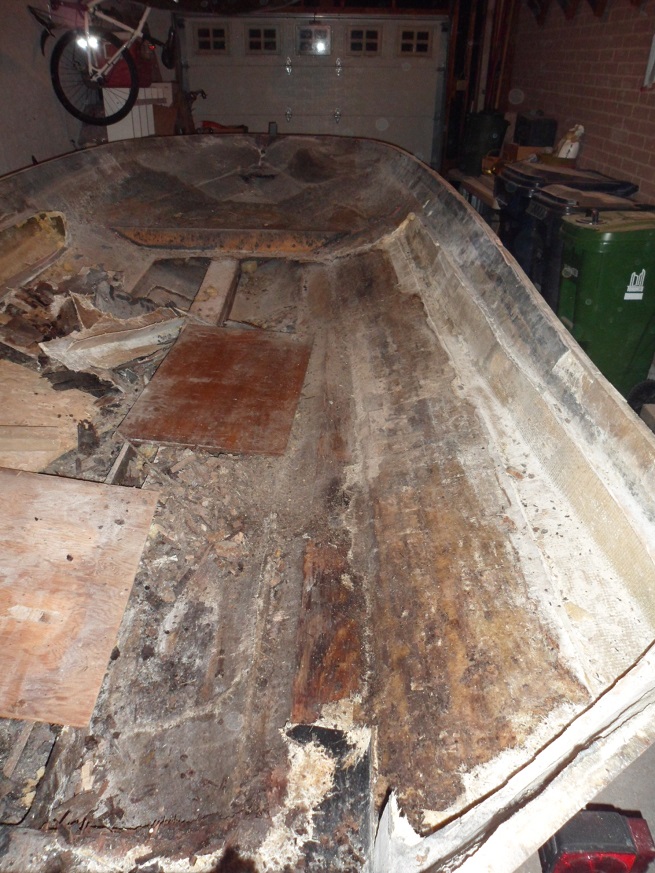
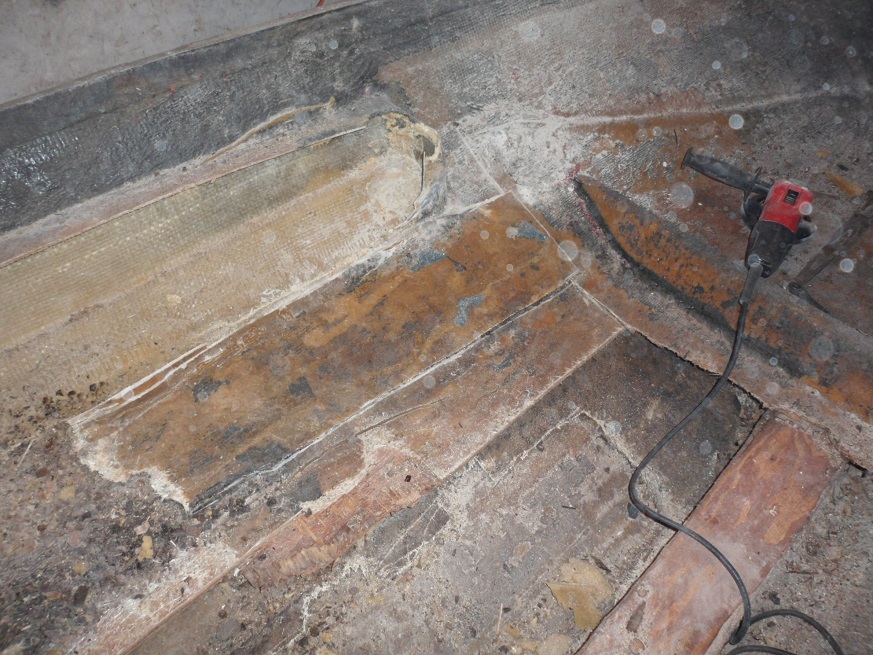
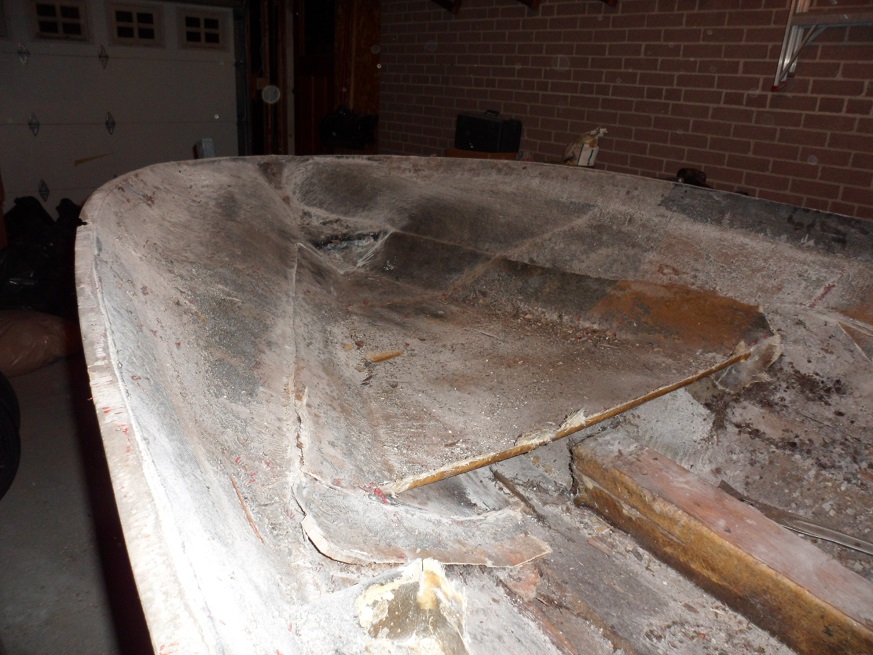
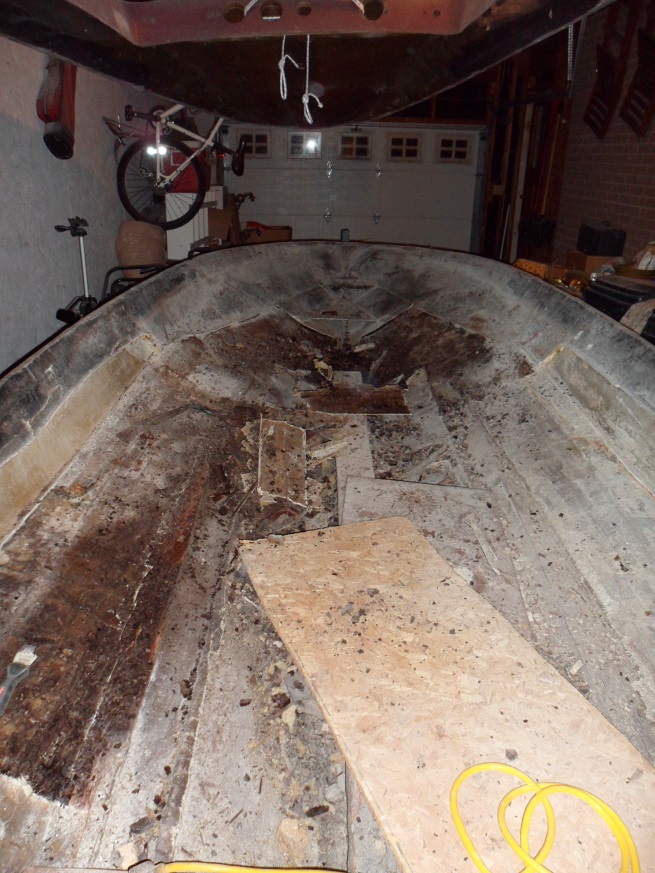
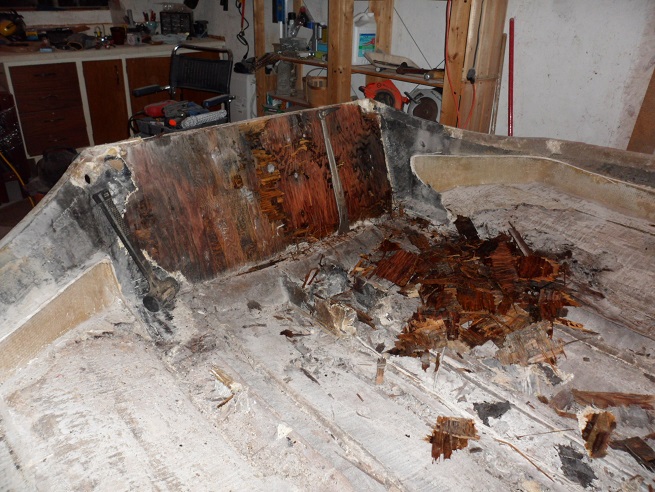
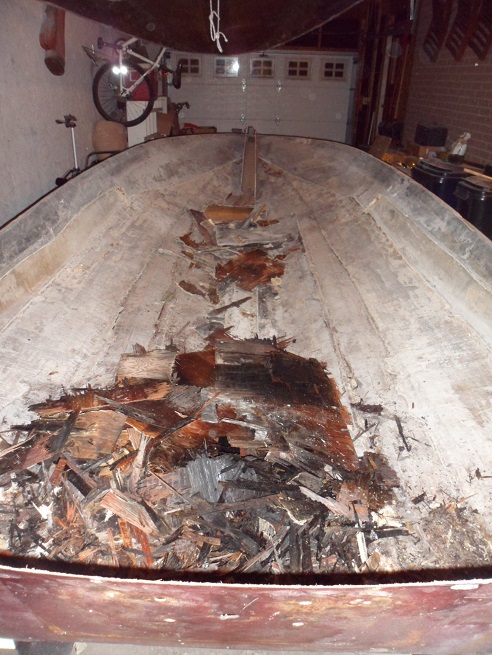
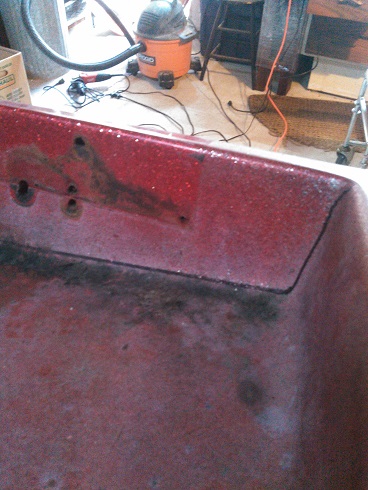
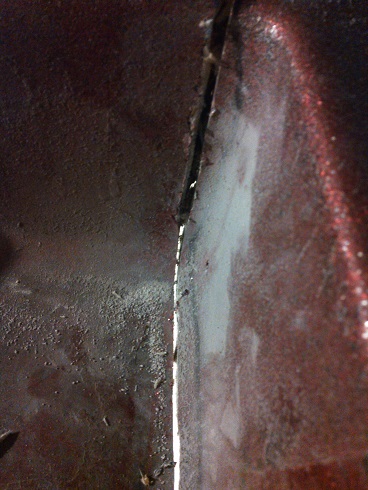
Now that my boat is inside a garage, I can tackle this thing with seriousness. At the farm, I had previously gotten the rubrail removed and had sawzalled the seam all the way around to both transom edges. I assumed that when the boat was built, after the deck was slid into place, they would have taped or (most likely) chopper-gunned the seam from the inside underneath and behind the splashwell. I couldn't get this area cut with the sawzall and it was left as is.
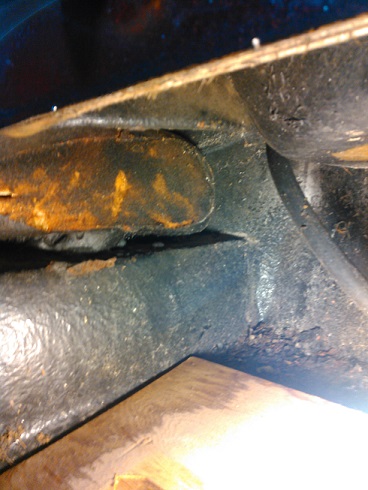
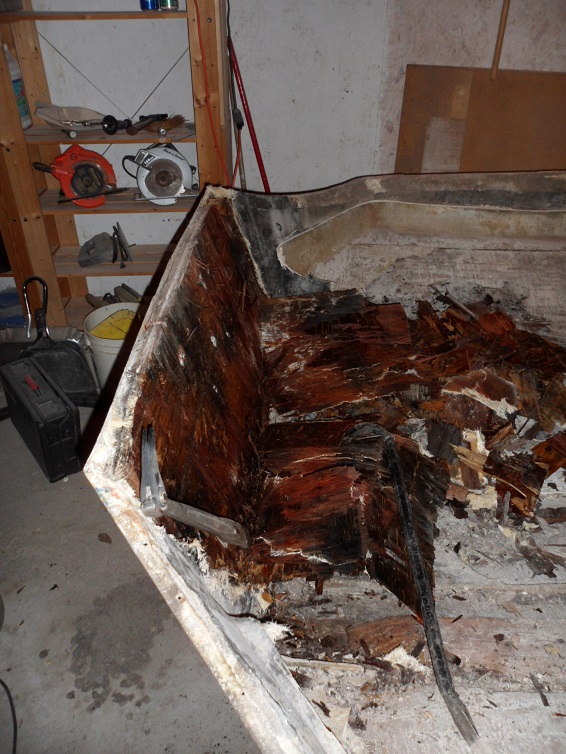
I really really didn't want to cut out the splashwell, but the awkwardness of trying to cut the inside seam without knowing how thick it was in sections, or even being able to see its location (because I'm not a double-jointed contortionist) left me with little choice.
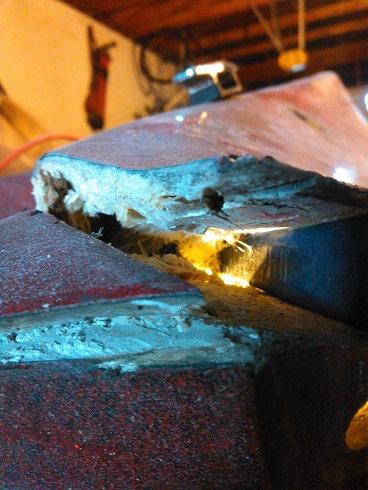
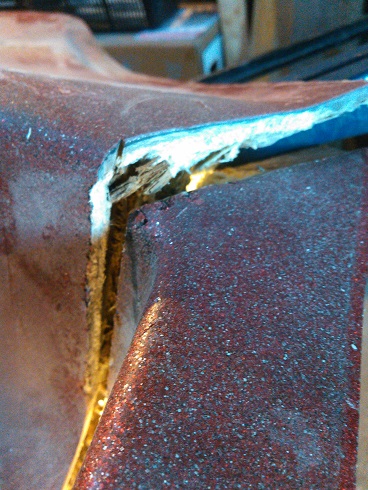
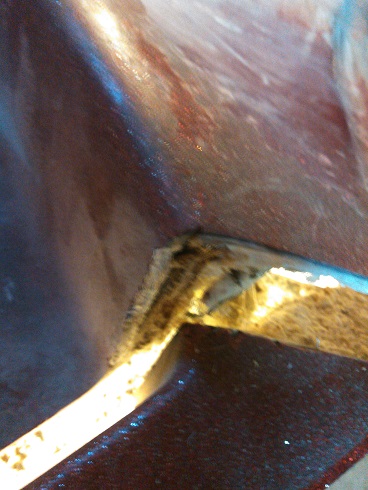
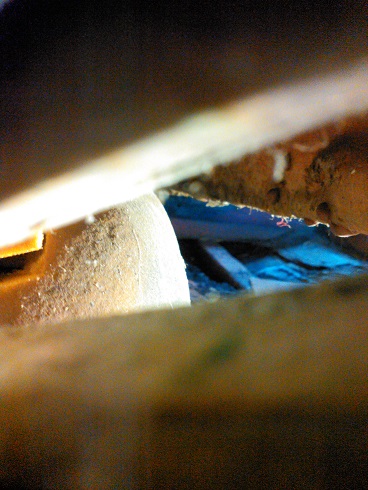
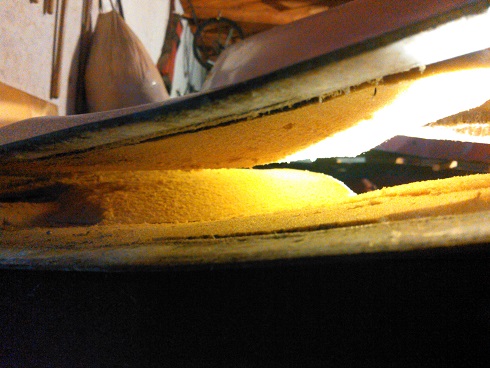
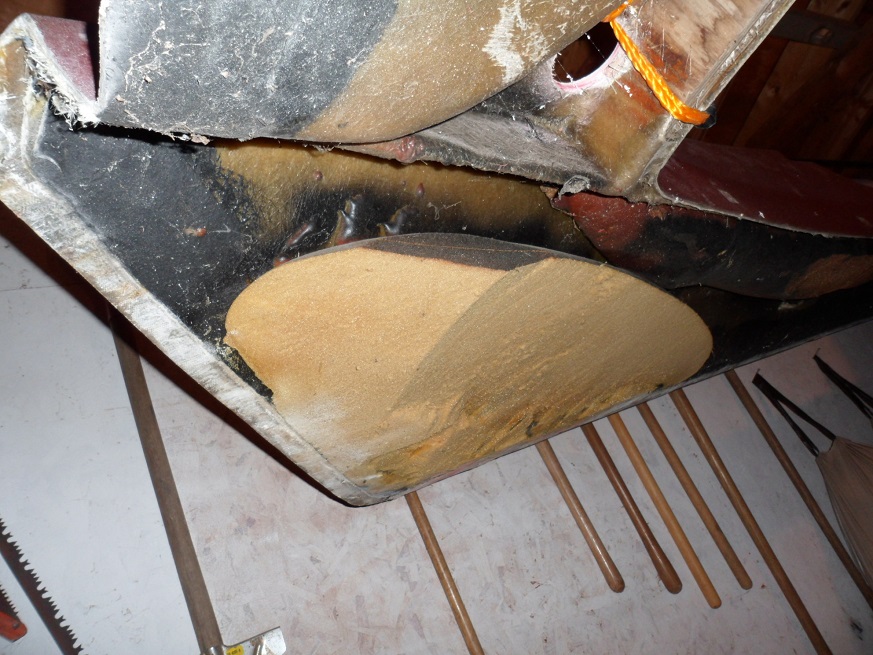
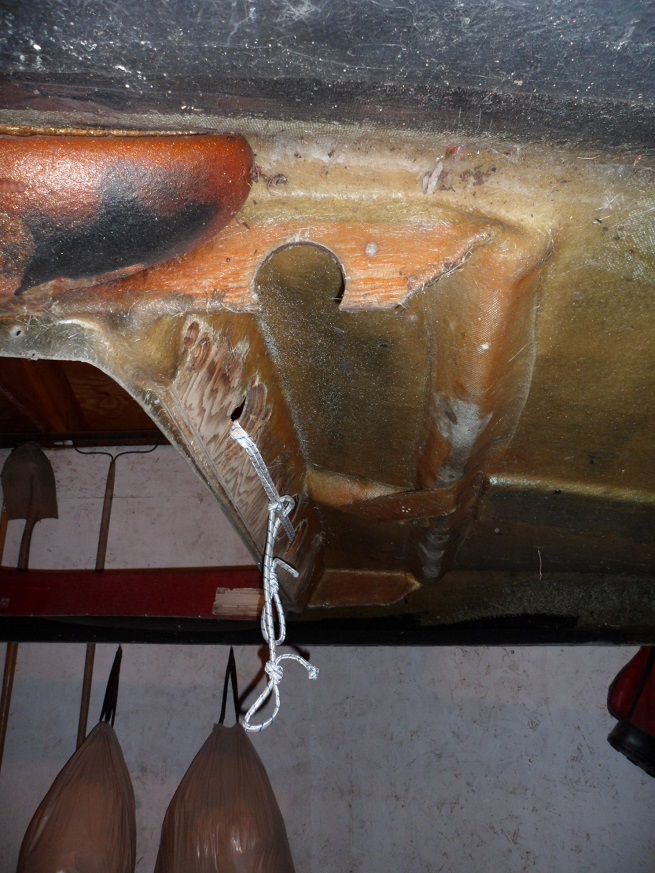
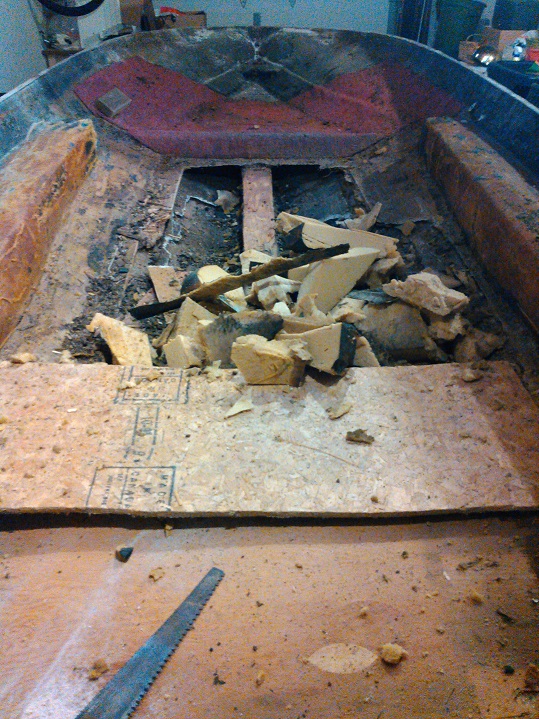
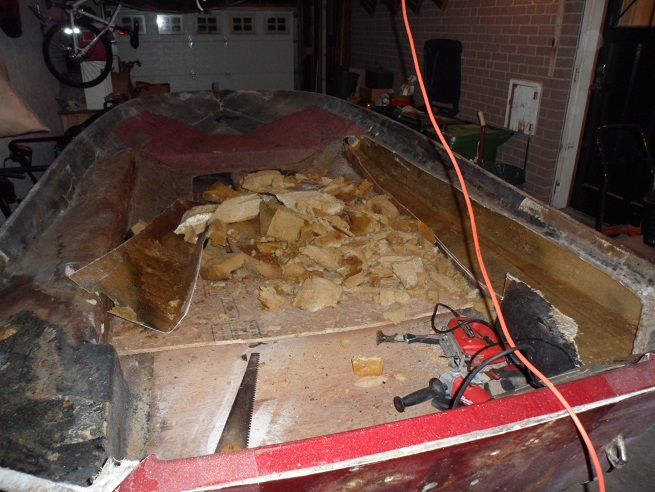
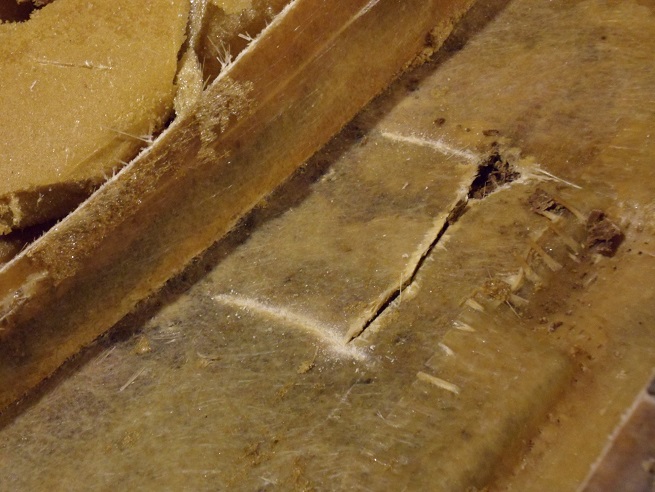
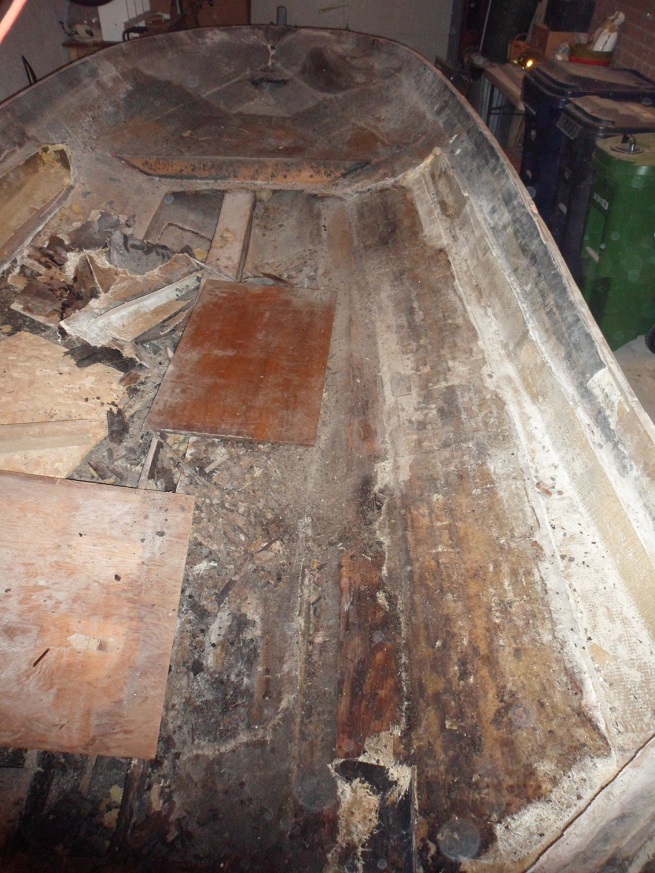
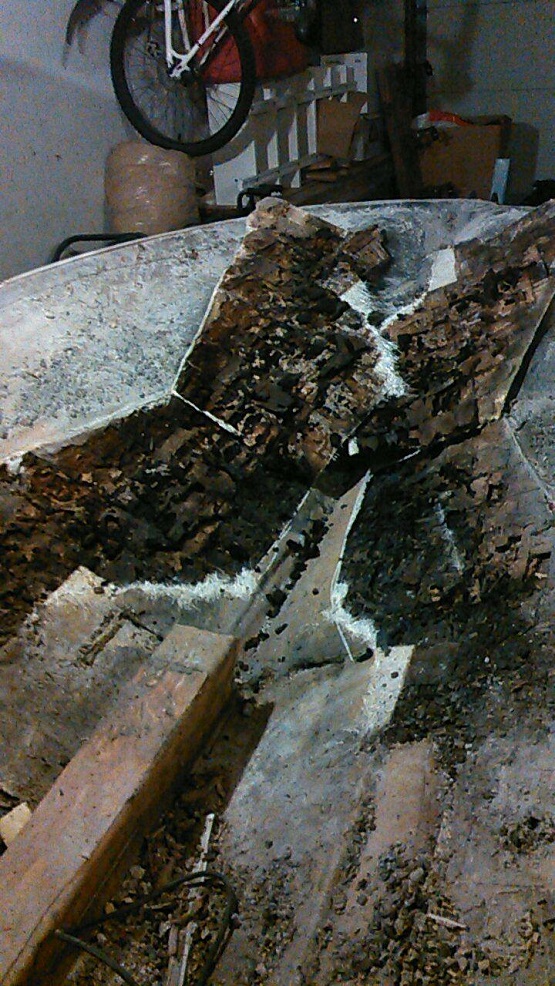
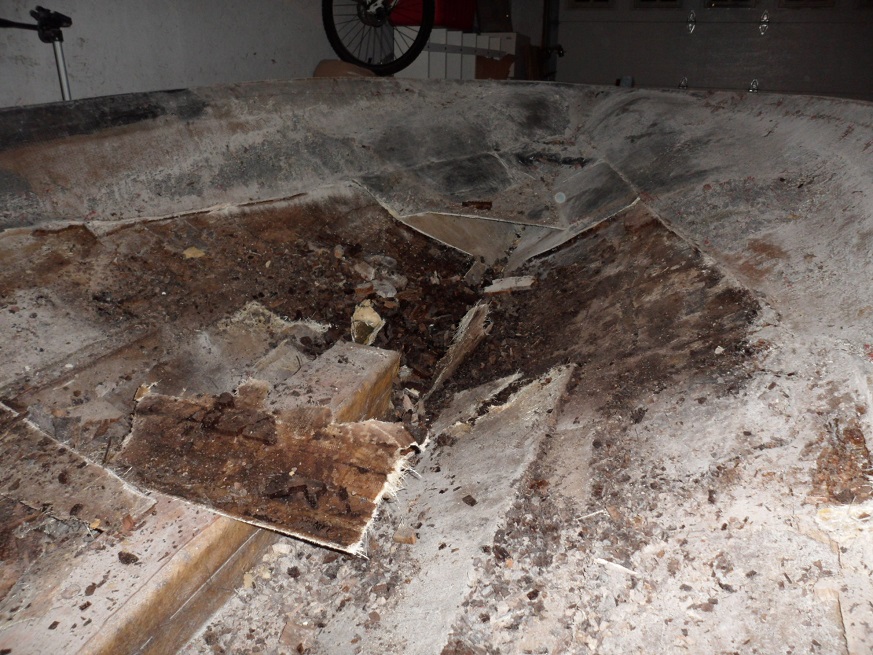
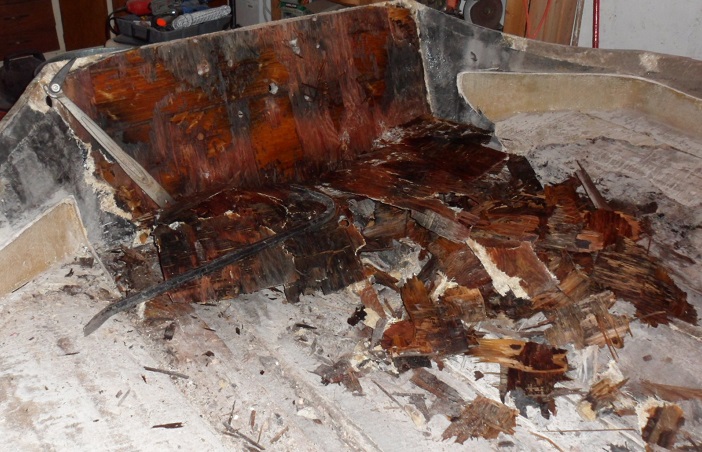
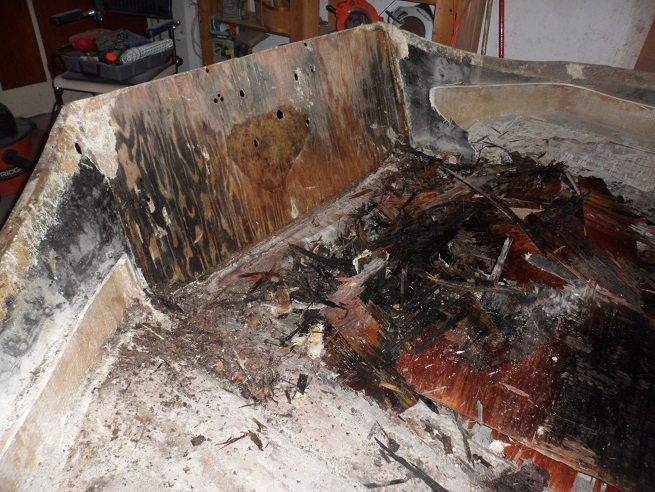
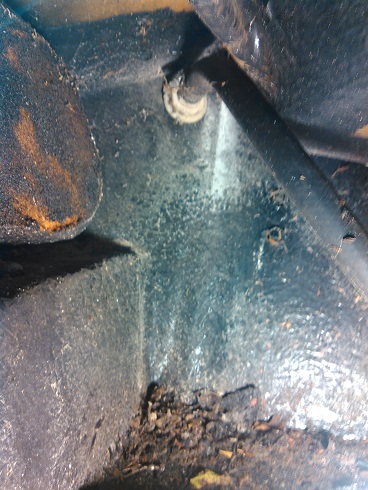
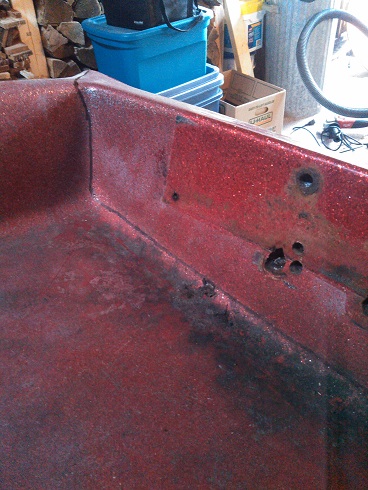
I marked out the splashwell where I was going to cut it. I wanted to save as much as I could. I used my Dremel. Don't knock Dremels. They may be small, but they get in small spaces and do cut through glass like butter. I only needed 2 standard reinforced cutting discs. In some spots that were thicker that the Dremel disc just couldn't reach, I used a drywall saw.
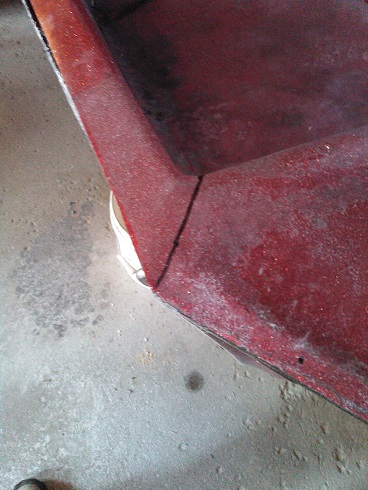
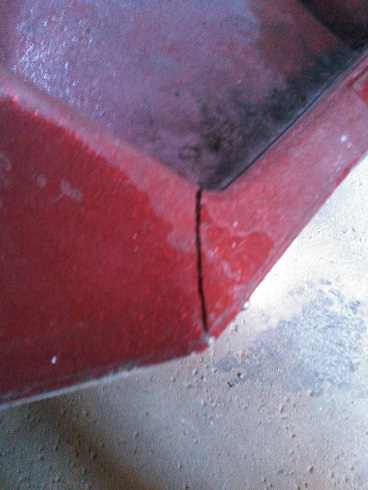
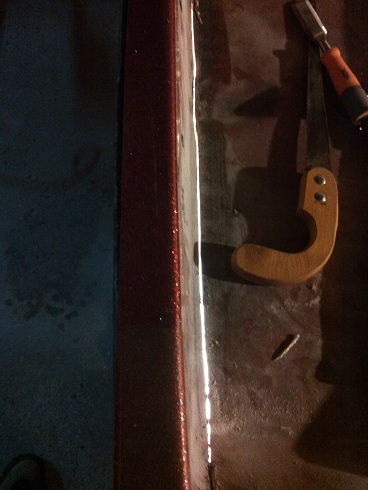
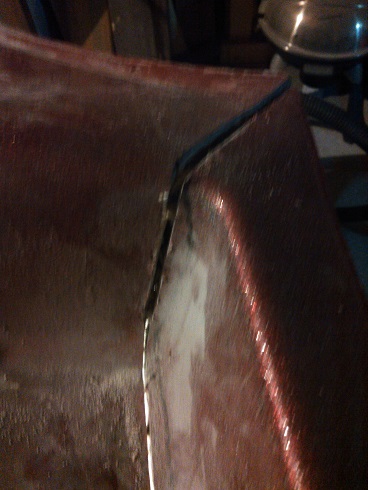
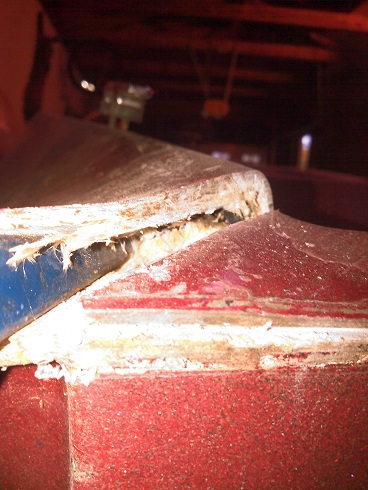
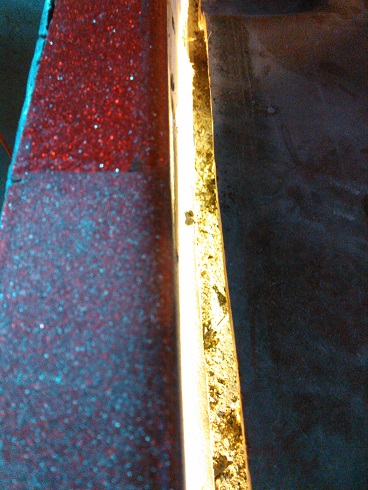
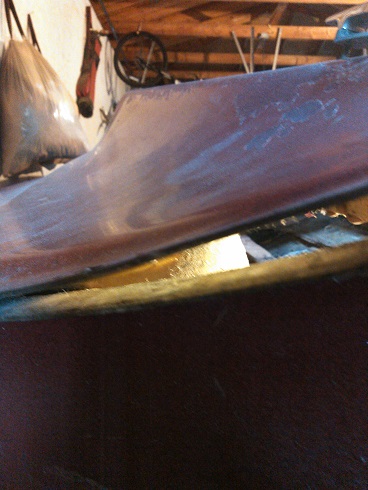
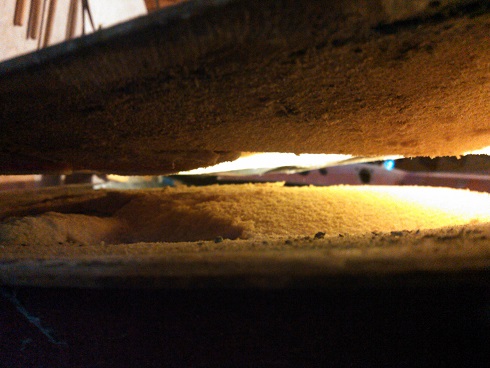
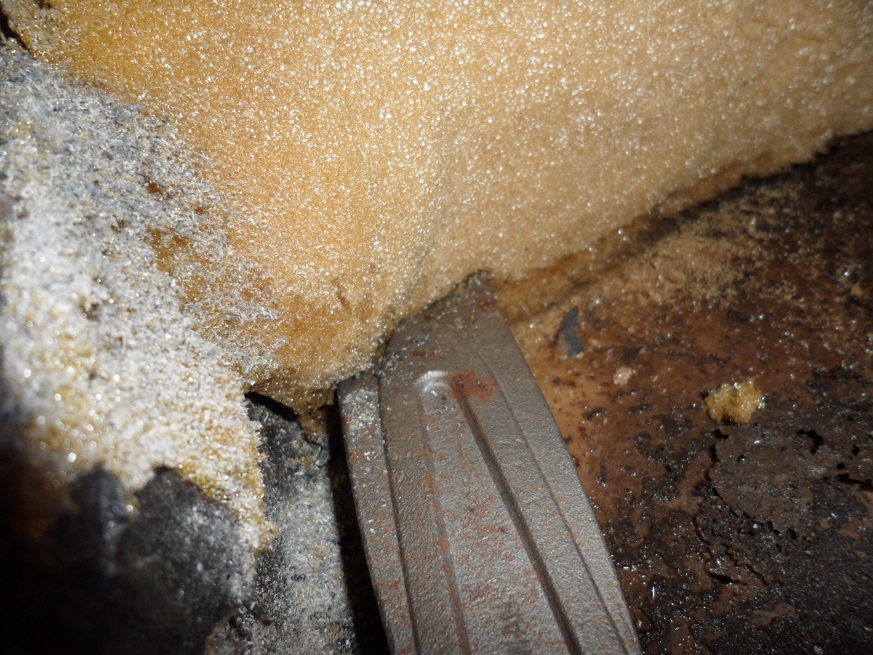
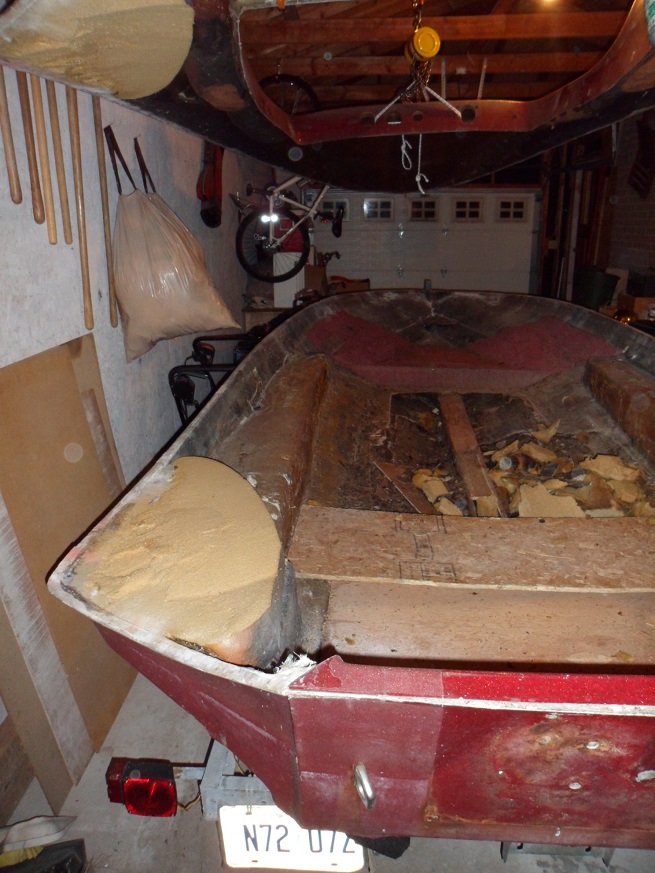
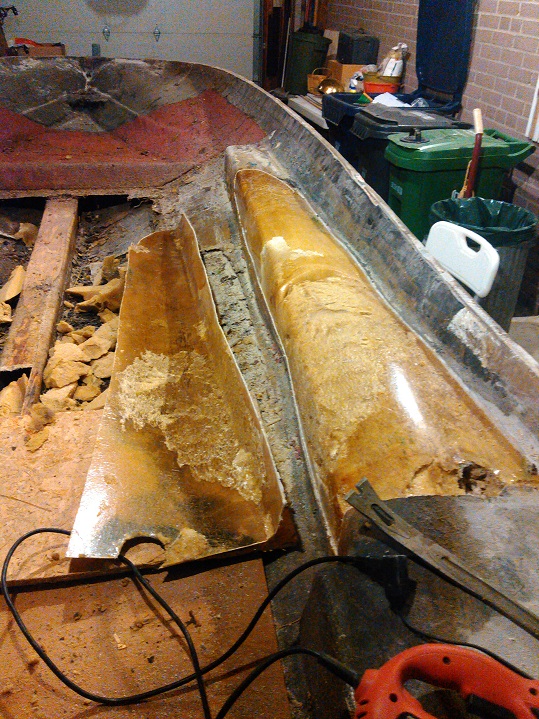
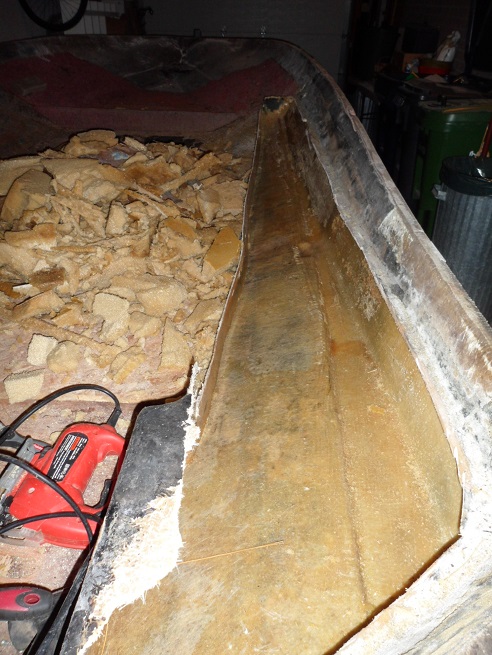
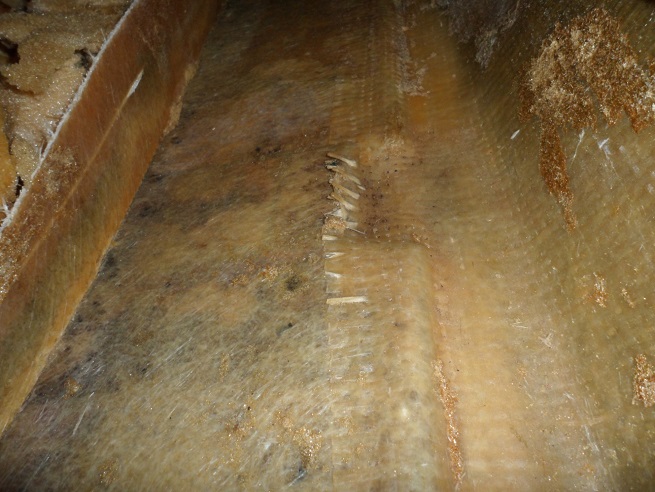
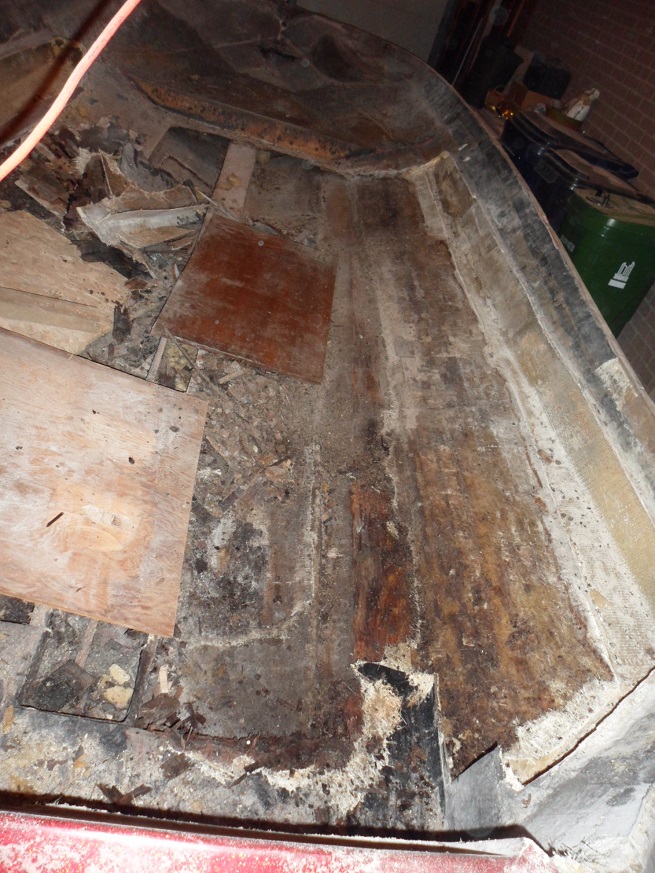
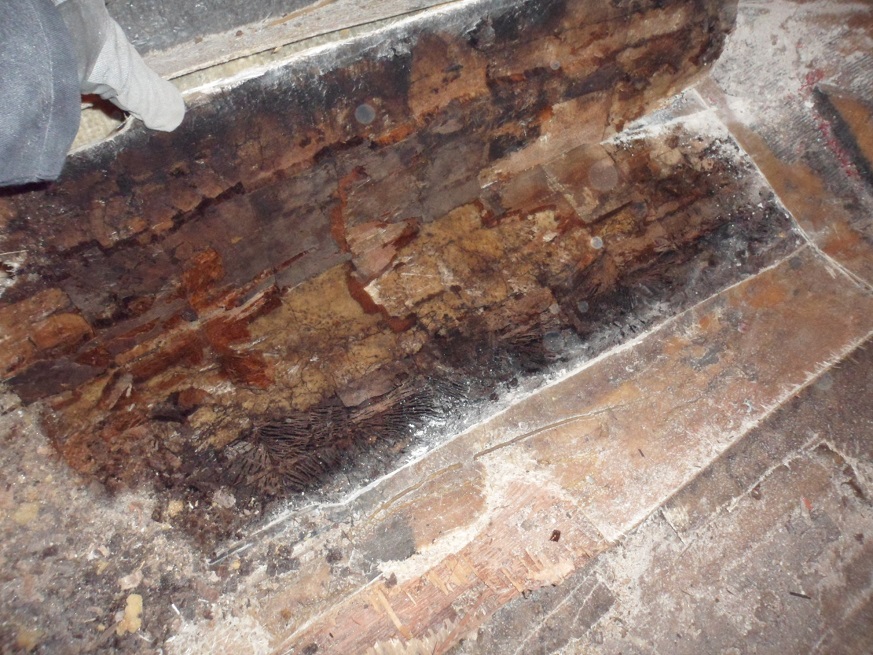
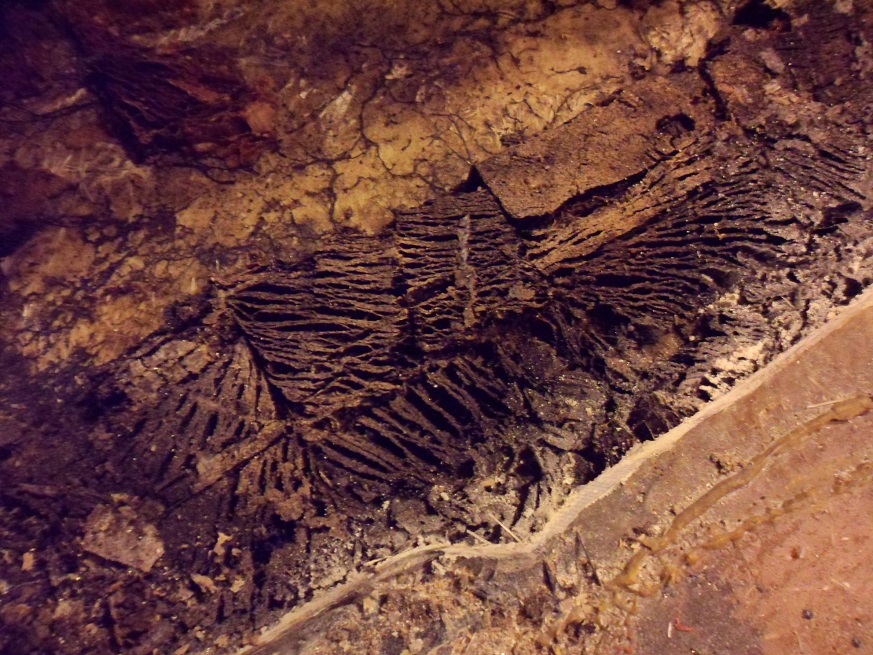
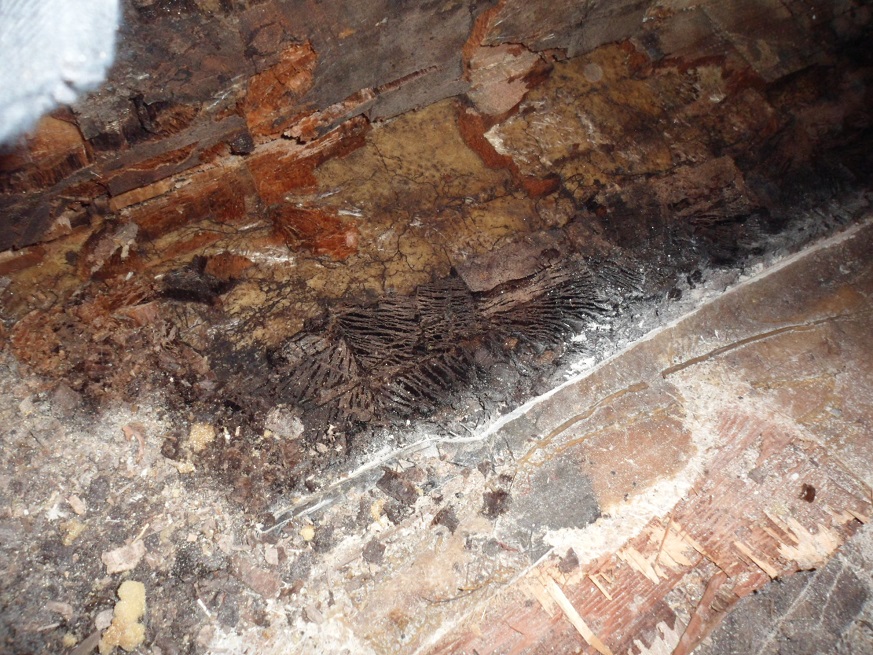
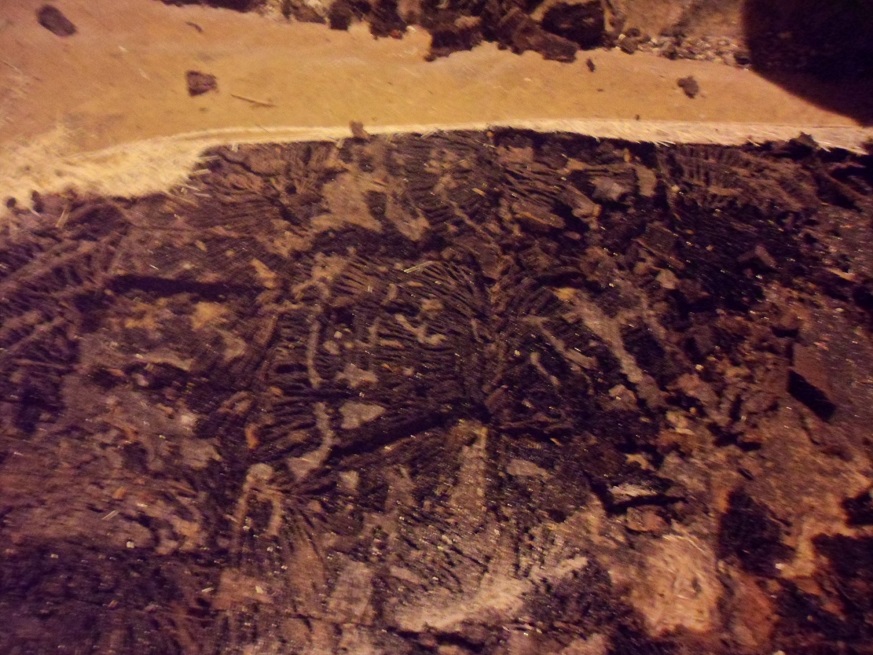
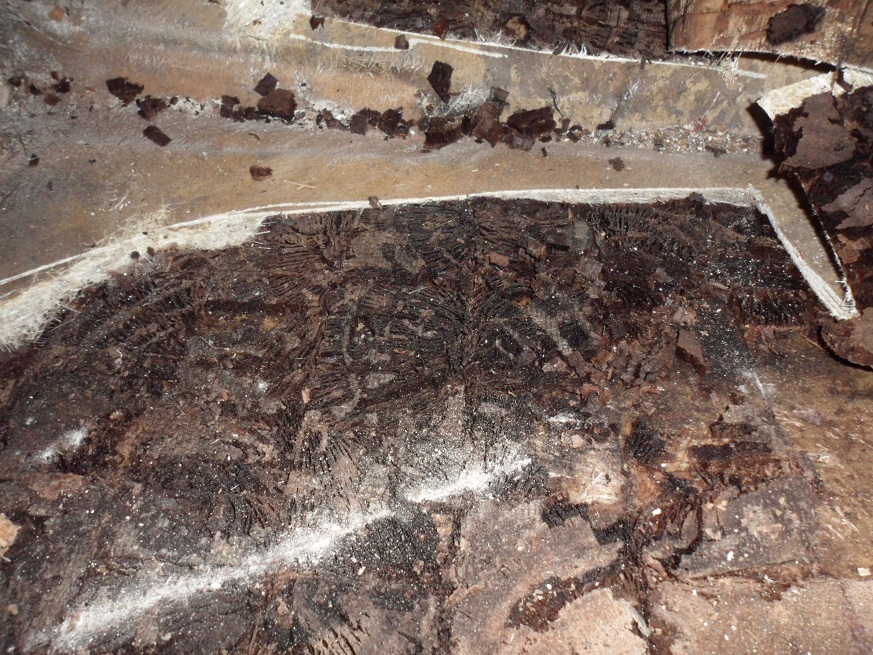
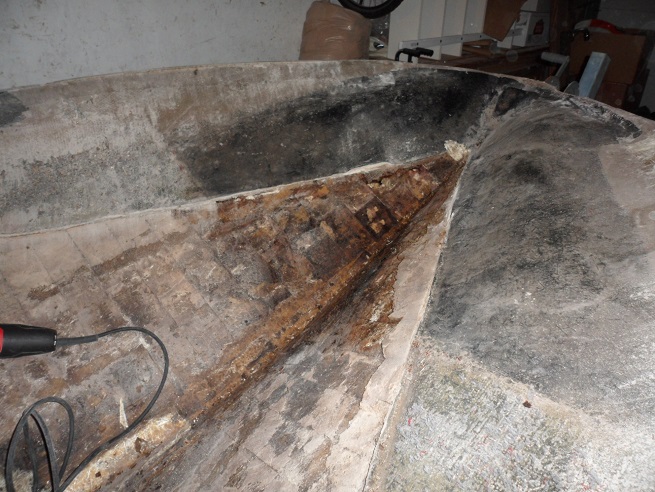
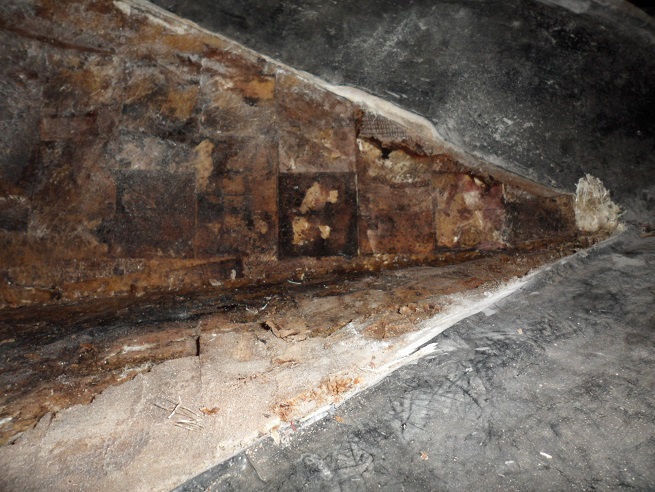
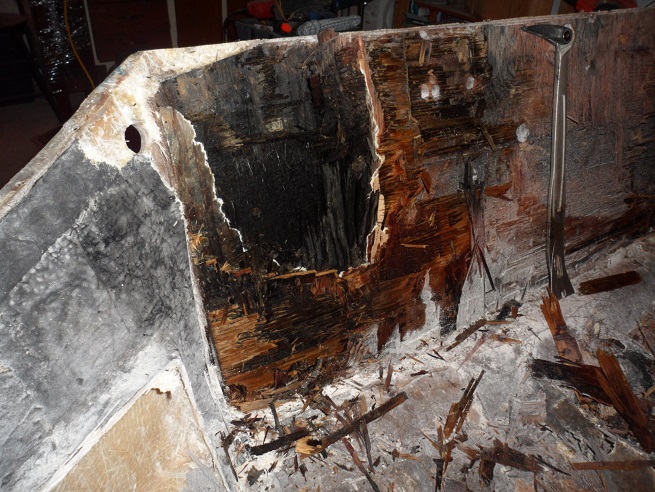
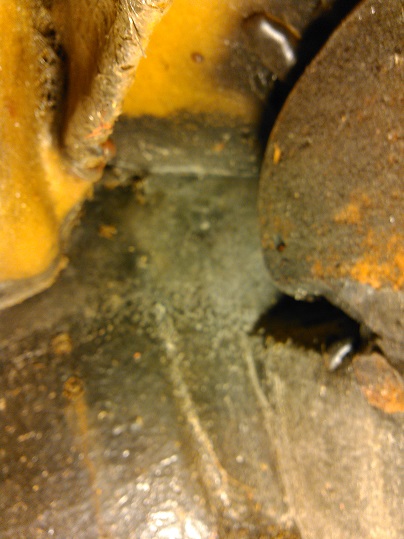
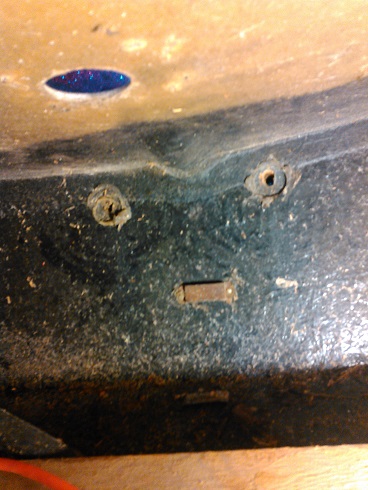
With a light under the splashwell, you can see I got almost all of it. It's a lot thicker at the corners, so I may just have to punch through with a chisel and hammer.
But she's almost there. Wife's working late Wednesday, so I'll try it then.
-------------------------------------------
Also, picked up this. Wife saw the box in the garage and said "what the hell is that for?"
So i turned it on and aimed it at her.