Page 2 of 4
Re: 1980 Hydrostream Vamp restoration
Posted: Apr 06, 2024 6:54 pm
by kameix1
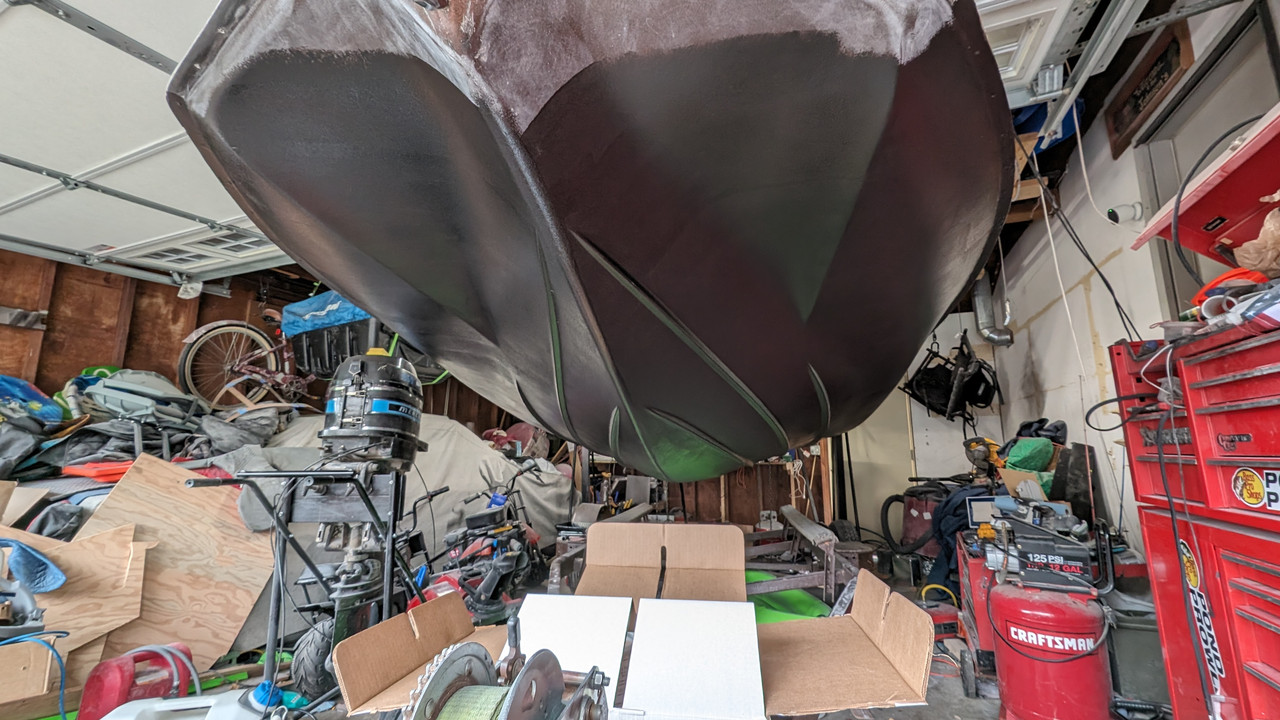
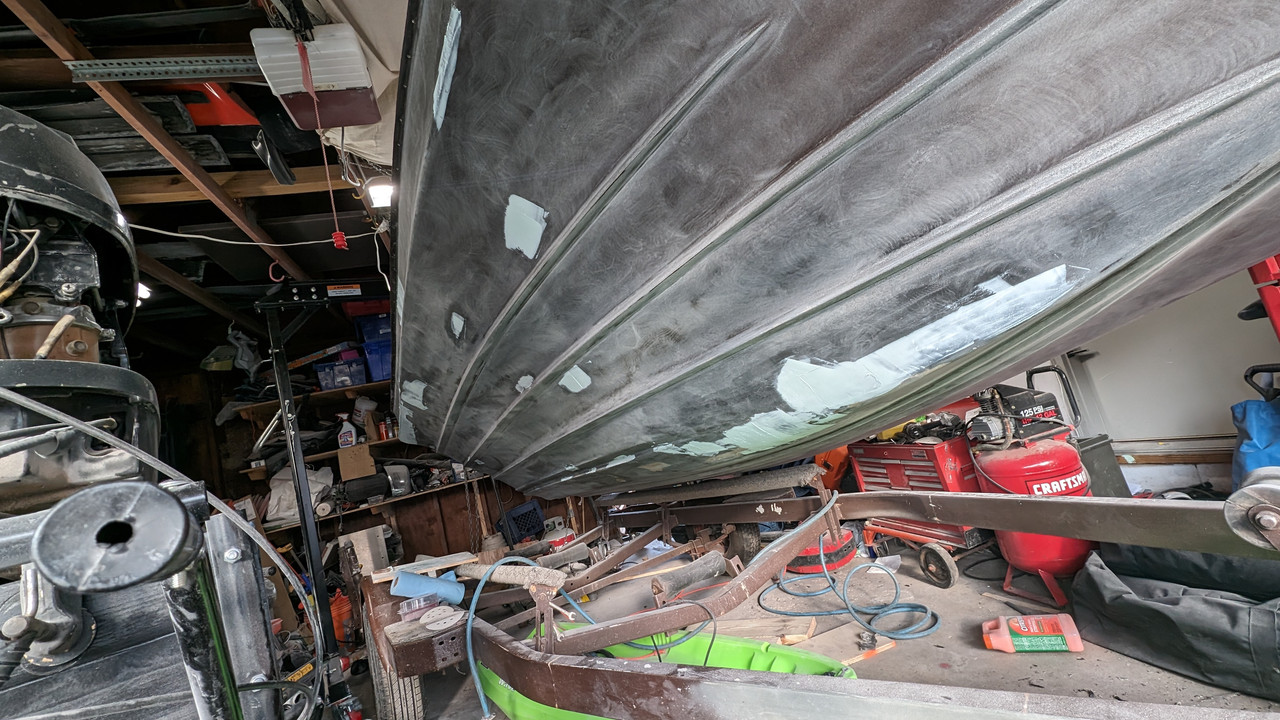
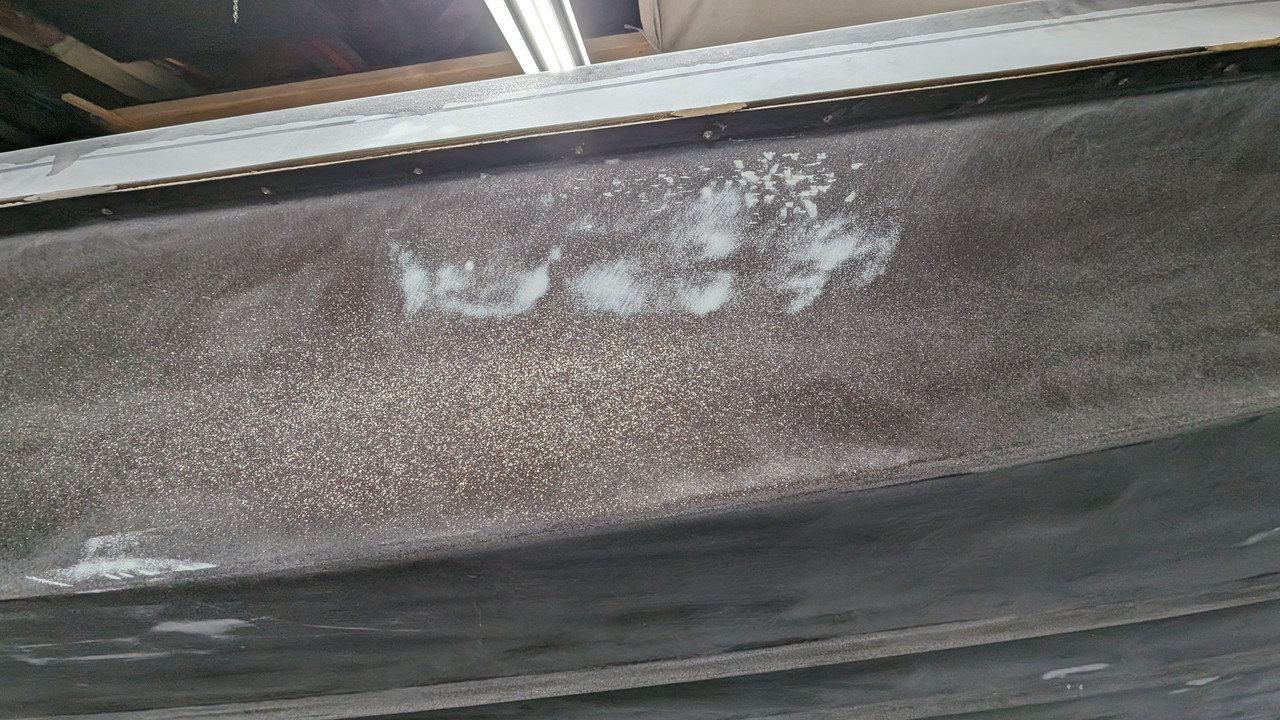
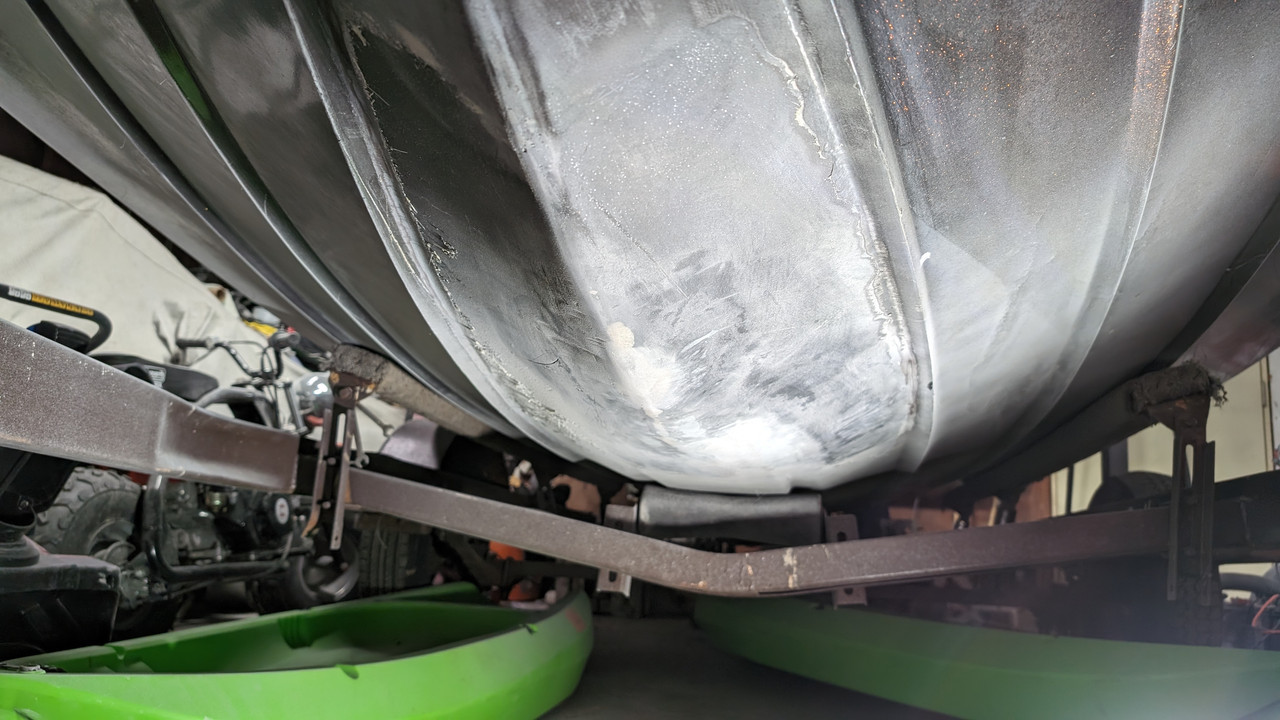
I got it all fixed up, put 10 layers of chop mat and a layer of 1808 structural glass between all the chop. A good amount of the chop will get ground off, but the spots that I cleaned out for the repair should have nearly all the layers in there.
Took me less time to do the repair proper than the last owner spent with the house paint and roller on the bottom.
Still need to finish cleaning off the old crap glasswork, then I can get it all filled and smoothed out.
Re: 1980 Hydrostream Vamp restoration
Posted: Apr 08, 2024 4:41 pm
by kameix1
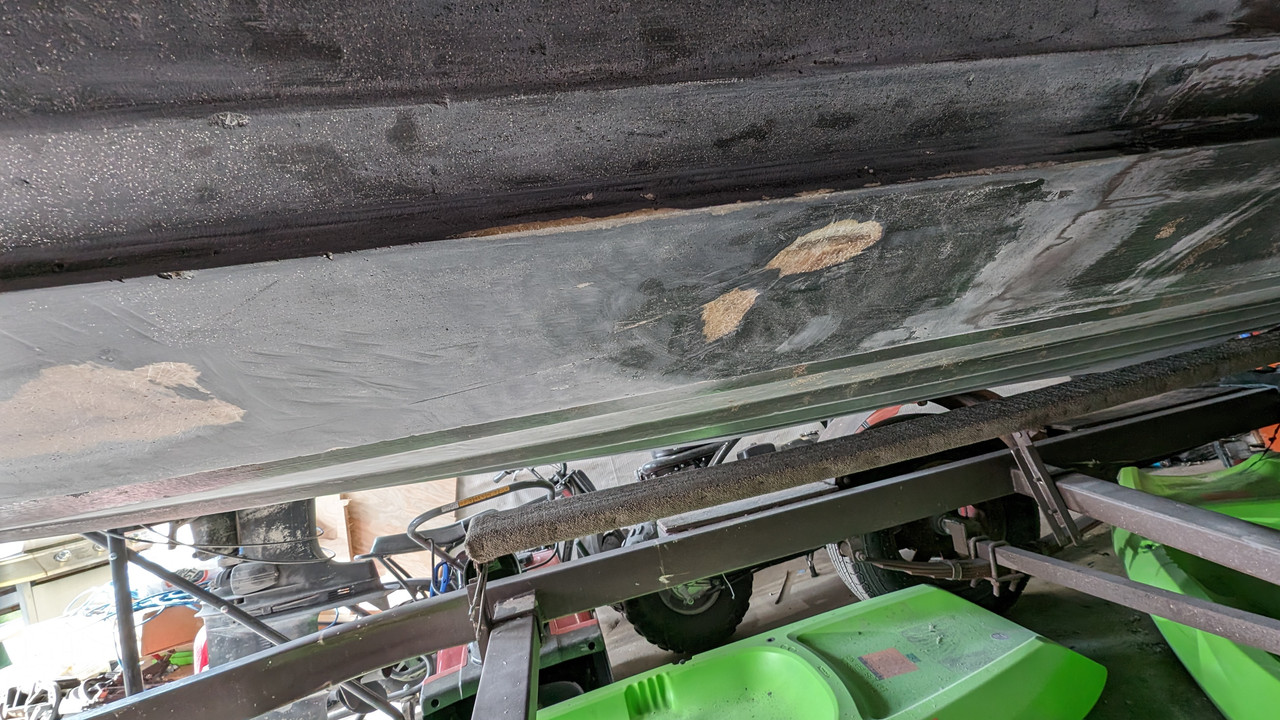
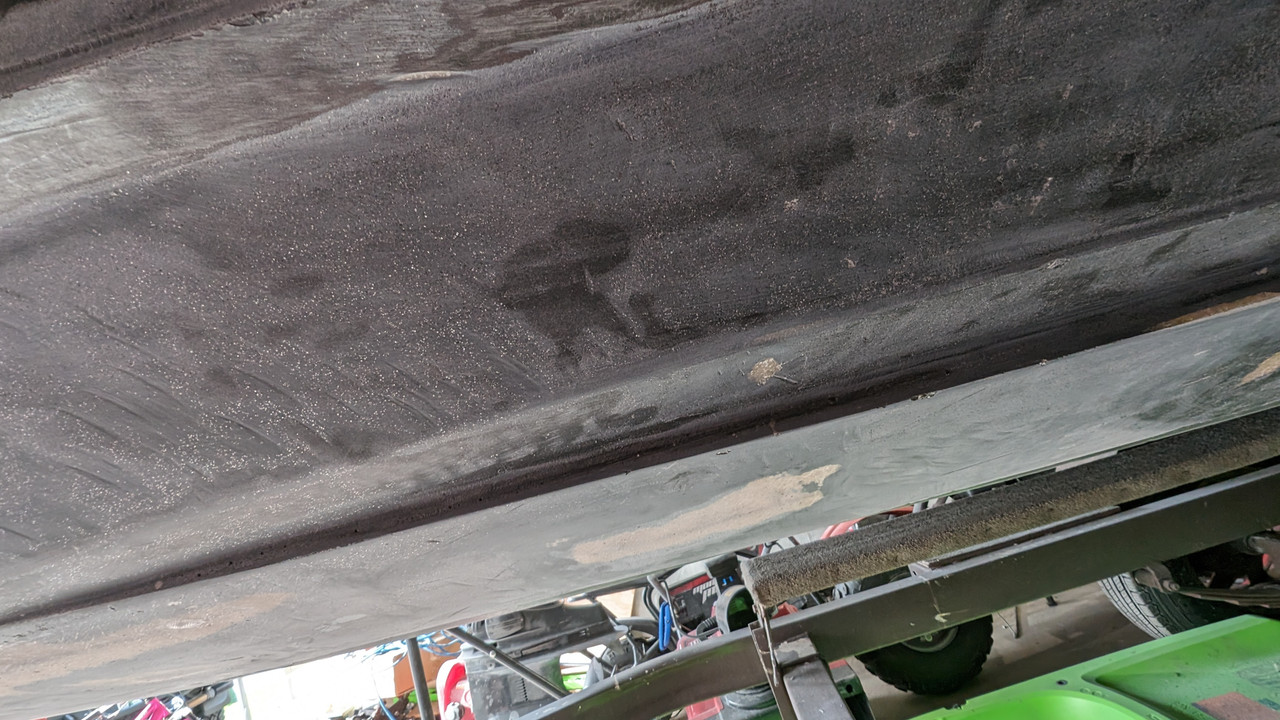
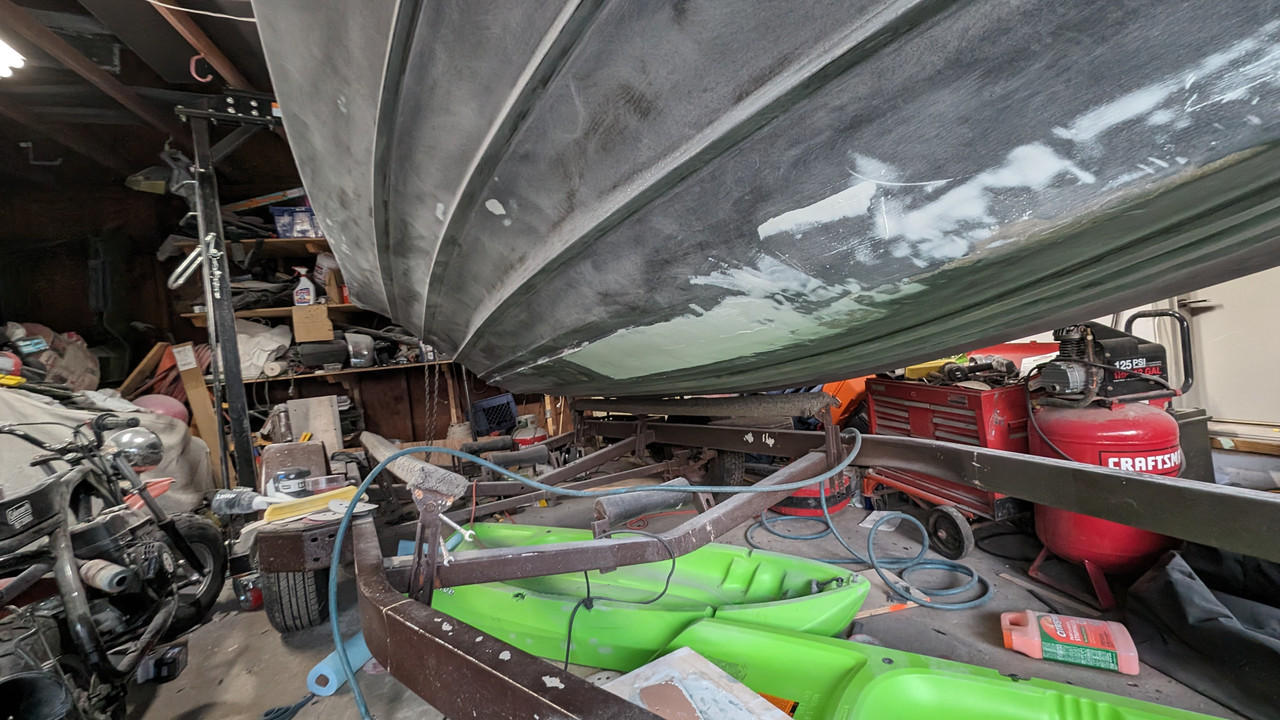
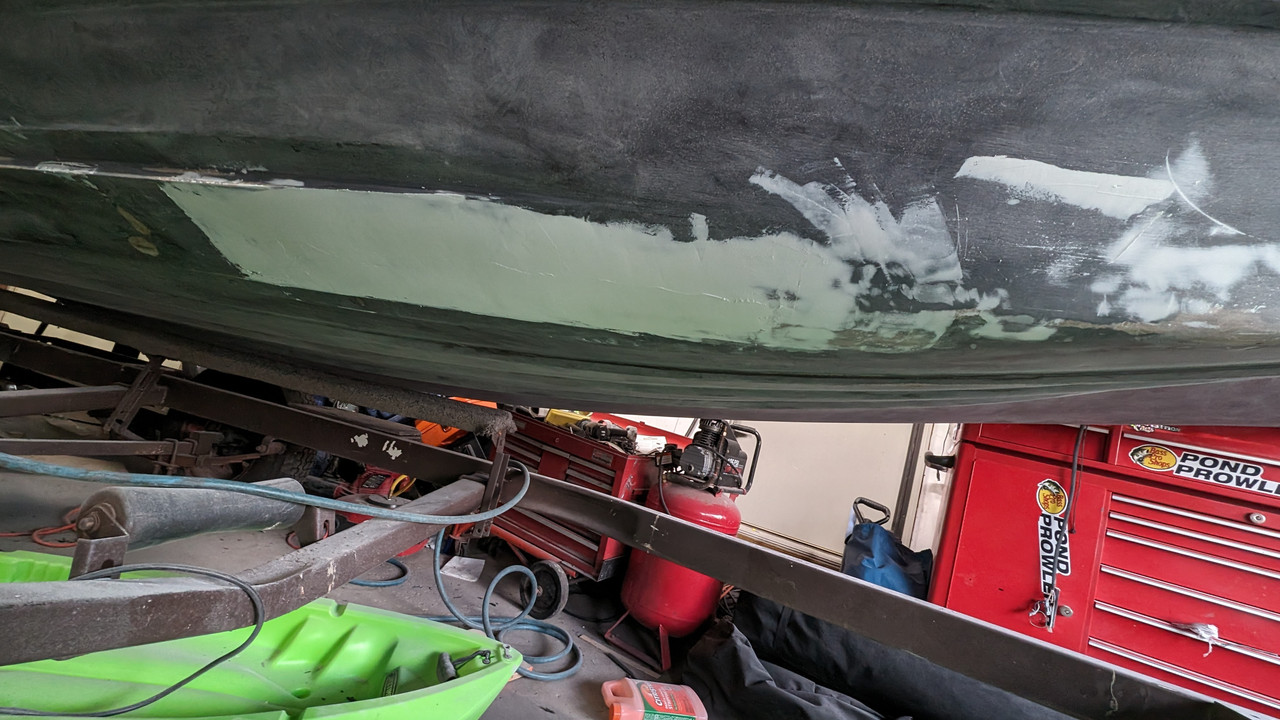
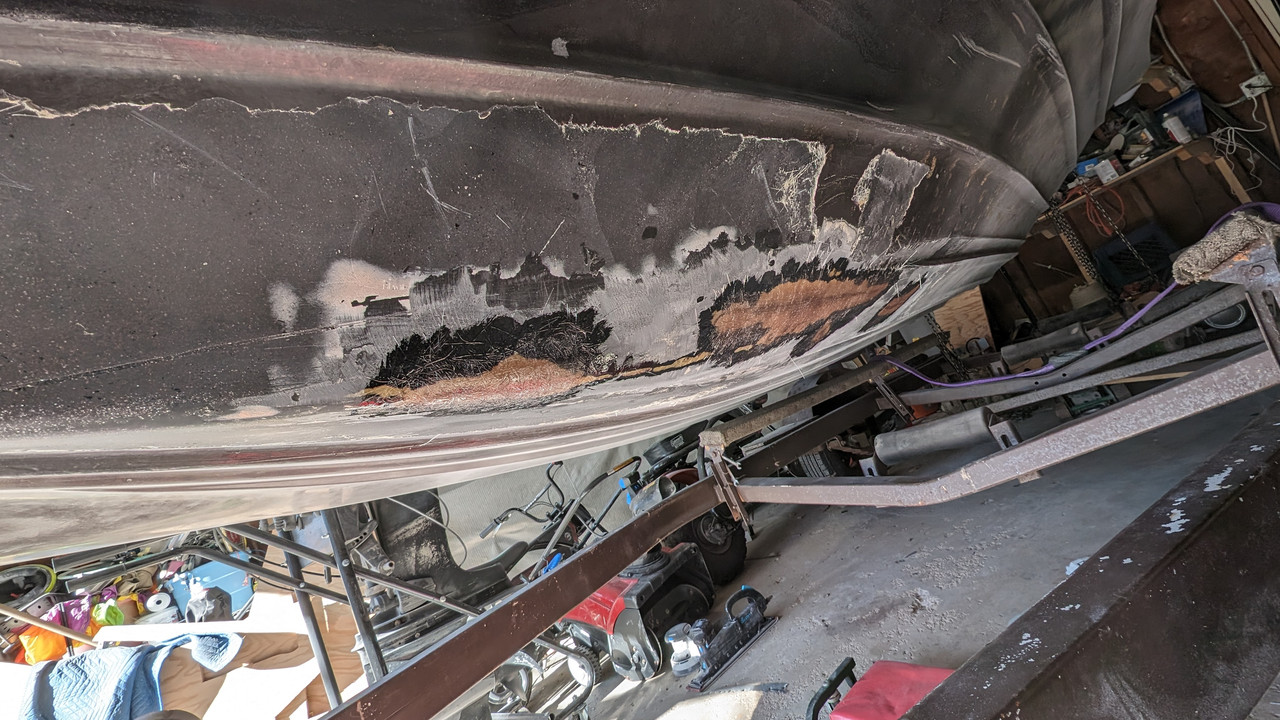
Cleaning up real nice here. The damage was actually pretty small considering how big of a area the last owners covered in glass.

Re: 1980 Hydrostream Vamp restoration
Posted: Apr 17, 2024 10:57 am
by kameix1
Re: 1980 Hydrostream Vamp restoration
Posted: Apr 18, 2024 5:56 pm
by Hippie459MN
Looking great!
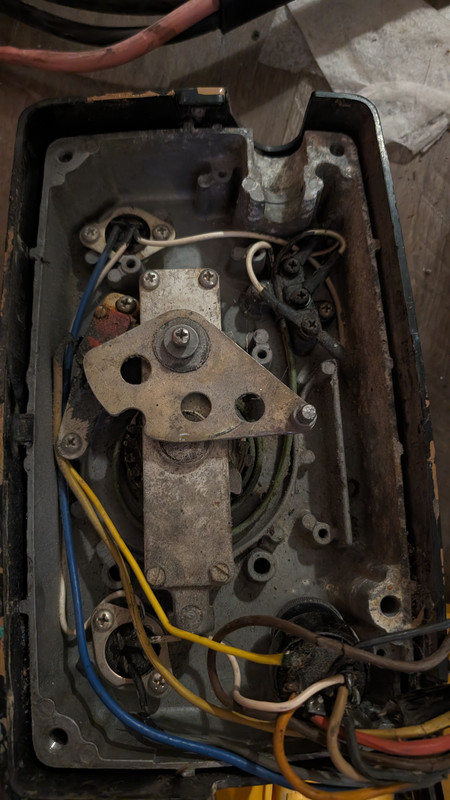
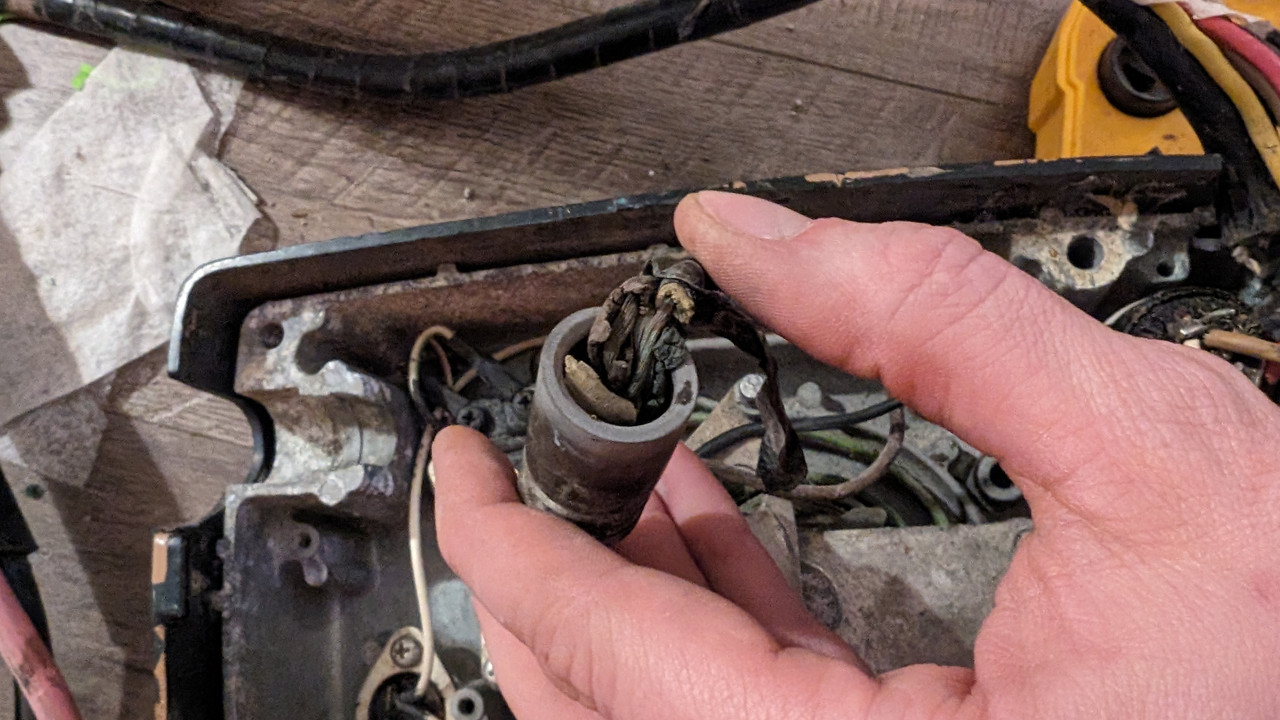
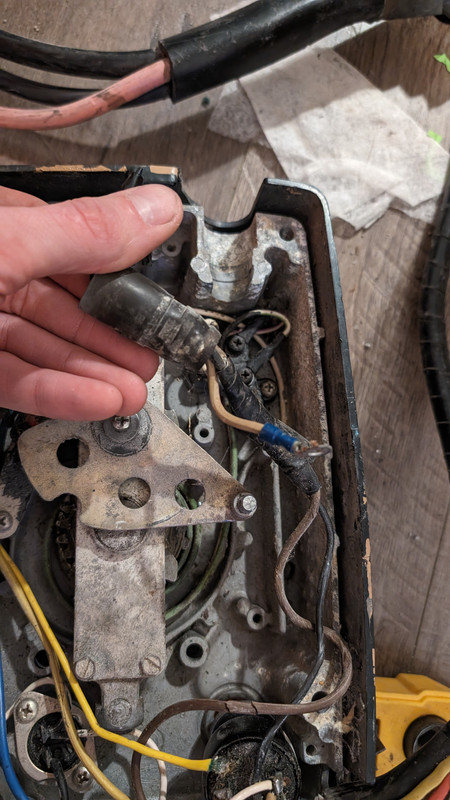
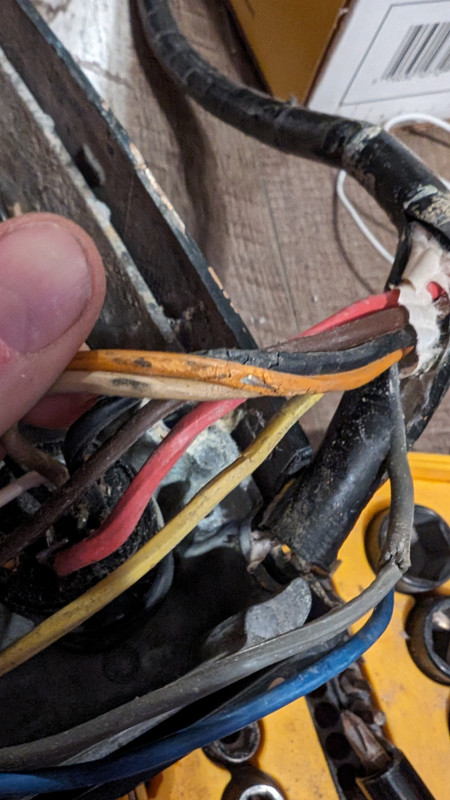
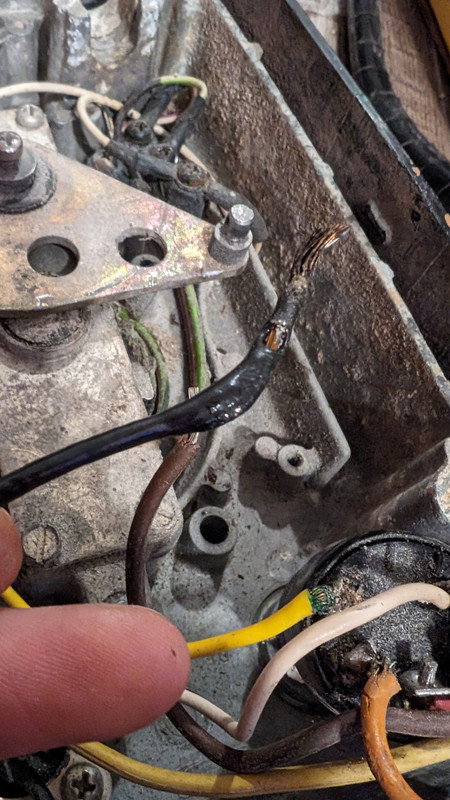
That sucks about the harness. You could cut it way back and rebuild it with what you need. Are you putting a foot throttle in it? I say do away with that bulky control box, add a key in the dash, foot throttle, and get a nice low profile side mount shifter. Get with Baicour DM (Baicour Design & Machine -
https://www.facebook.com/p/Baicour-Design-Machine-100057358753945/ His Personal profile -
https://www.facebook.com/profile.php?id=100009421652696). He makes a killer side and floor mount shifter. I have one of his floor mount shifters and I love it! He also makes jack plates and bunch of other marine stuff and he will even make it if you need.
Re: 1980 Hydrostream Vamp restoration
Posted: Apr 20, 2024 8:47 am
by kameix1
Hippie459MN wrote: ↑Apr 18, 2024 5:56 pm
Looking great!
That sucks about the harness. You could cut it way back and rebuild it with what you need. Are you putting a foot throttle in it? I say do away with that bulky control box, add a key in the dash, foot throttle, and get a nice low profile side mount shifter. Get with Baicour DM (Baicour Design & Machine -
https://www.facebook.com/p/Baicour-Design-Machine-100057358753945/ His Personal profile -
https://www.facebook.com/profile.php?id=100009421652696). He makes a killer side and floor mount shifter. I have one of his floor mount shifters and I love it! He also makes jack plates and bunch of other marine stuff and he will even make it if you need.
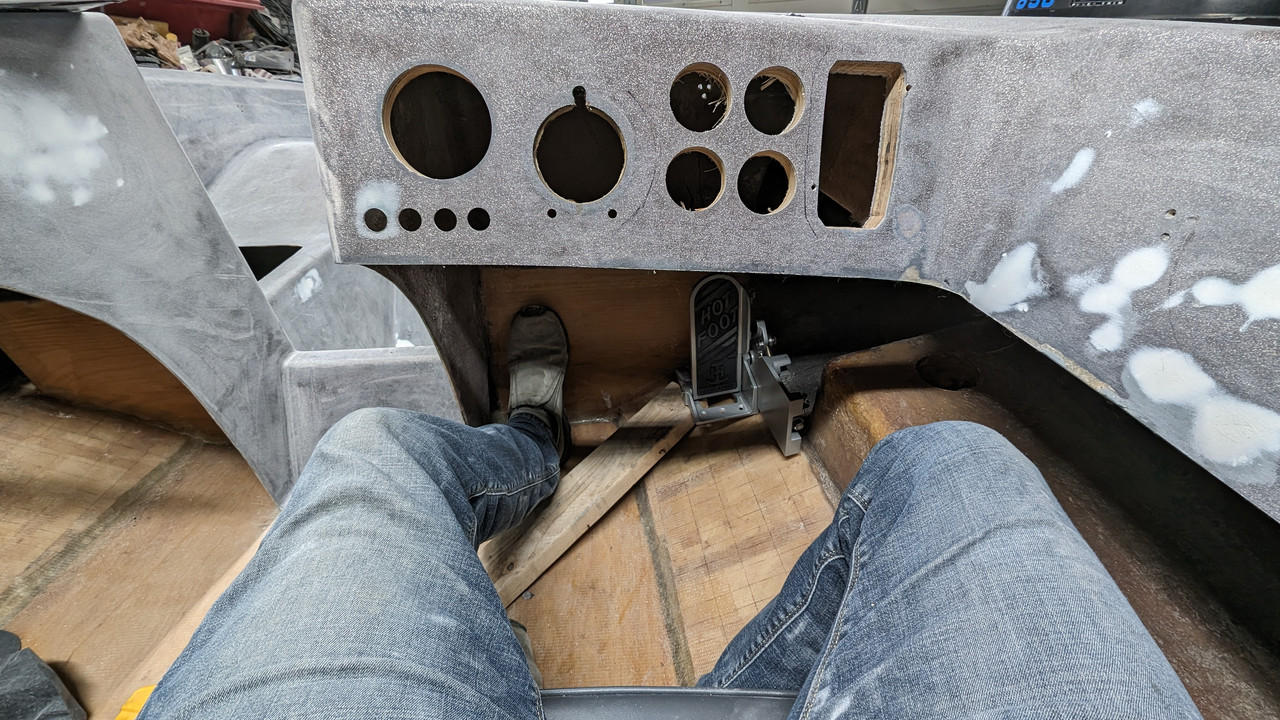
Im really thinking about it. the throttle is so close to the seat. I was looking at the hidden ones to try to get the bulk behind the gunnels, but even those stick pretty far out into the seat.
Re: 1980 Hydrostream Vamp restoration
Posted: Apr 20, 2024 11:59 am
by kameix1
Re: 1980 Hydrostream Vamp restoration
Posted: Apr 20, 2024 11:21 pm
by kameix1
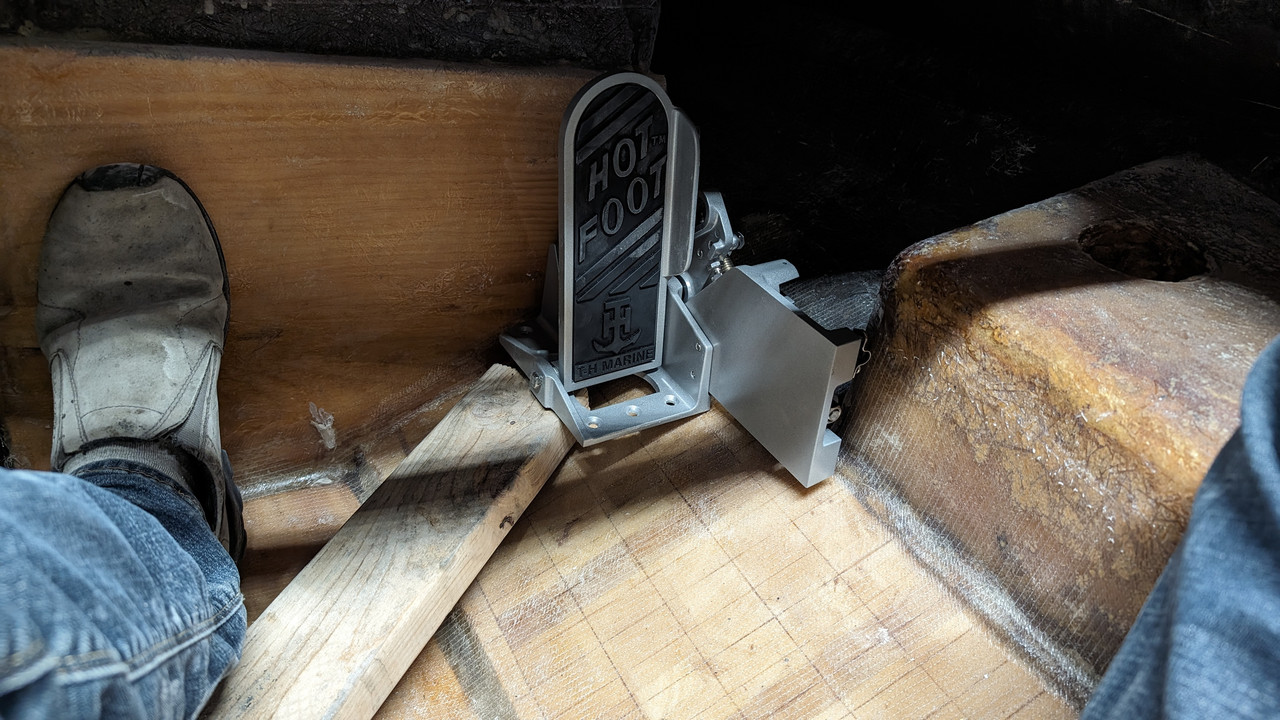
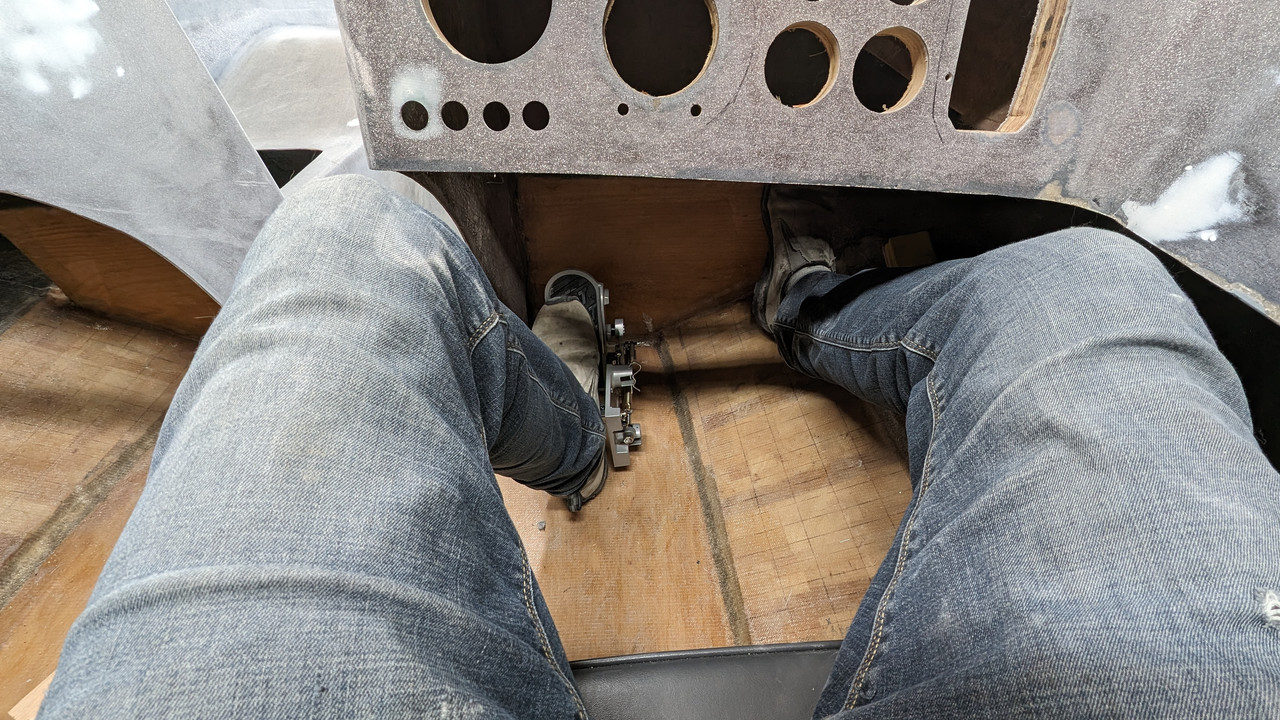
Looks like my best mounting option is left side. So I made a 3/8 marine ply base with threaded inserts to hold it down, going to bond the base to the hull then seal it up with resin. Routing the cable should be interesting, I might look into making a small channel under the carpet that brings it all the way to the back, otherwise I will just go under the drivers seat and then up over the float pods to the back.

Re: 1980 Hydrostream Vamp restoration
Posted: Apr 21, 2024 7:41 pm
by Hippie459MN
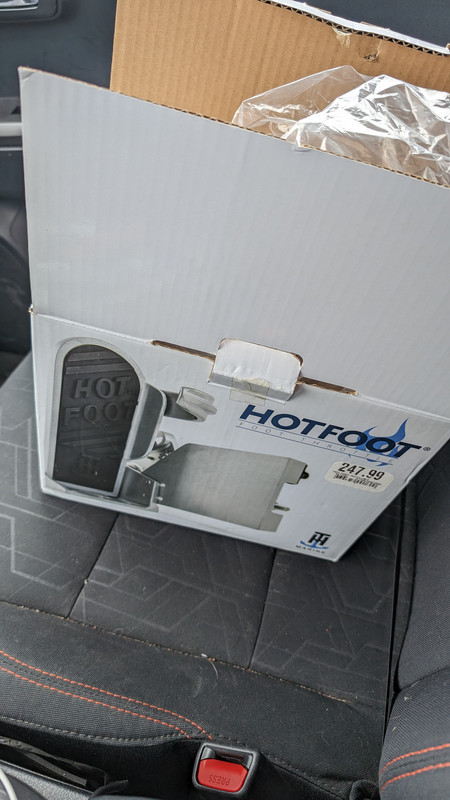
Nice score! I ditched the Hot Foots (Got 3 of them for sale, and two Hot Foot adjustable slide plates) and went with the SeaStar Pro Pedal. Night and day difference, but they are about $100 more.
Link -
https://www.dometic.com/en-us/outdoor/boat/marine-control/mechanical-controls/foot-throttle/dometic-pro-pedal-248206
I know a lot of people say put it on the left but I just cant do it. Its way to weird for me. The one in my vulture is on the right but I have a feeling the one for my kids Vixen might have to be a lefty just due to space. We'll see.
Boats coming along great though. Love the updates!
Re: 1980 Hydrostream Vamp restoration
Posted: Apr 22, 2024 6:14 pm
by kameix1
Hippie459MN wrote: ↑Apr 21, 2024 7:41 pm
Nice score! I ditched the Hot Foots (Got 3 of them for sale, and two Hot Foot adjustable slide plates) and went with the SeaStar Pro Pedal. Night and day difference, but they are about $100 more.
Link -
https://www.dometic.com/en-us/outdoor/boat/marine-control/mechanical-controls/foot-throttle/dometic-pro-pedal-248206
I know a lot of people say put it on the left but I just cant do it. Its way to weird for me. The one in my vulture is on the right but I have a feeling the one for my kids Vixen might have to be a lefty just due to space. We'll see.
Boats coming along great though. Love the updates!
I like how that pedal has adjustment on where the cable exits, Im not a fan of how this cable will go right between my feet and then up to the float pods, but its how its got to be here.
Re: 1980 Hydrostream Vamp restoration
Posted: Apr 27, 2024 12:39 pm
by kameix1
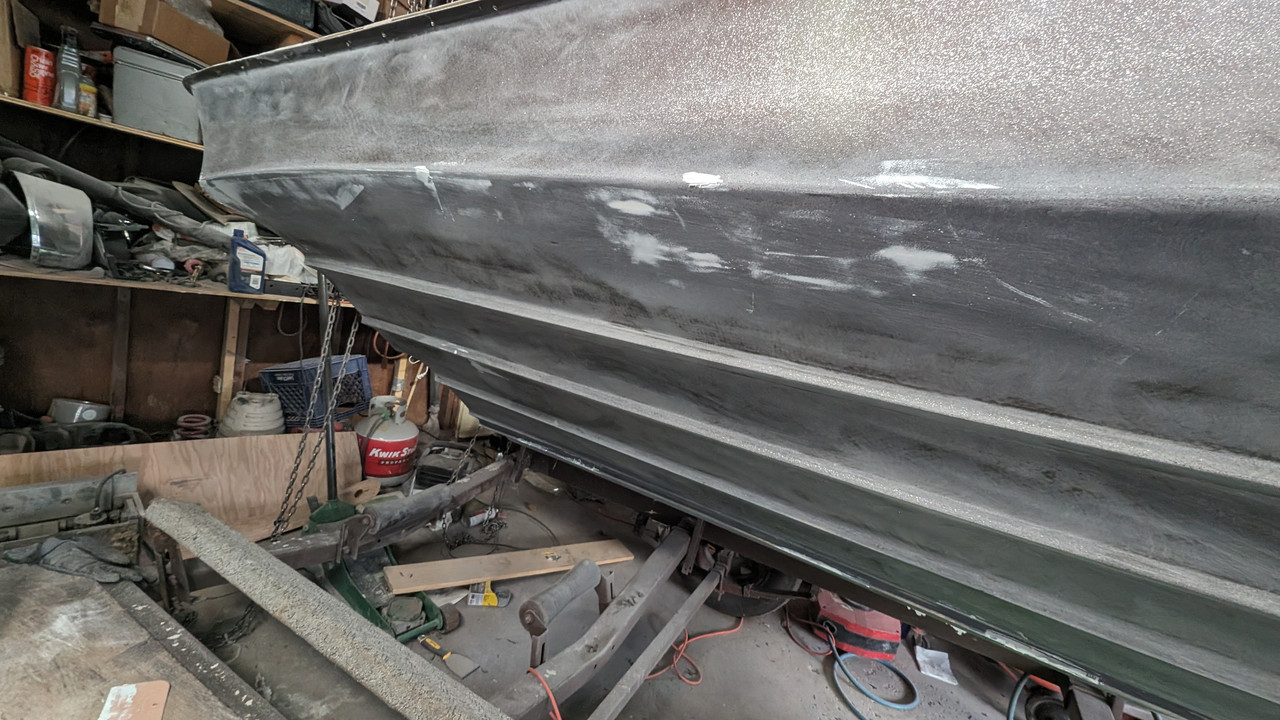
First coat of vinylester primer has been put down on the bottom of the hull, going to let it flash over and then put a second layer down. Going to let it cure overnight before I start block sanding the whole thing. Then tomorrow I am hoping to prime the top half so I can start blocking that early next week. I didnt prime the front area yet as thats where I am hanging the front end from, so once I put it back on the trailer I will pull the bow eye off and prime there.