Re: 1980 Viper Rebirth
Posted: Apr 29, 2018 9:10 pm
Well I had a week off work, but since the house I'm in is for sale, we had viewings and stuff scheduled that interrupted my working time throughout the week. Suffice to say I didn't get as much done as I hoped, but its a start.
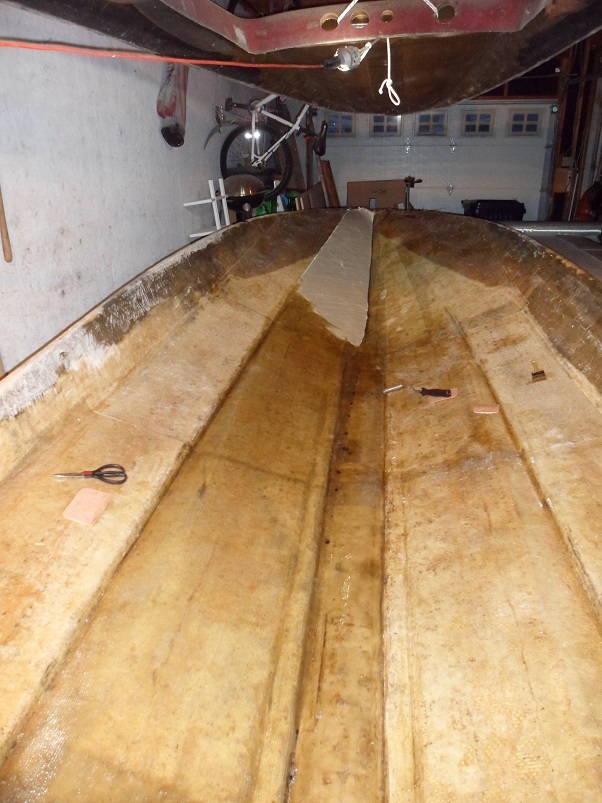
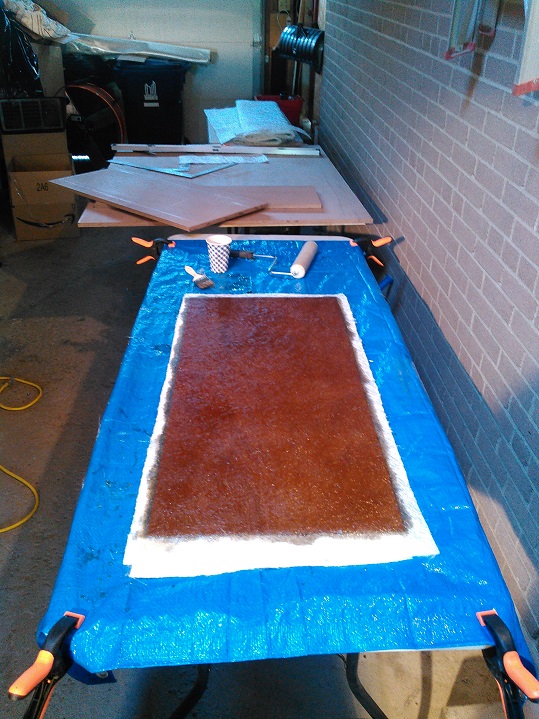
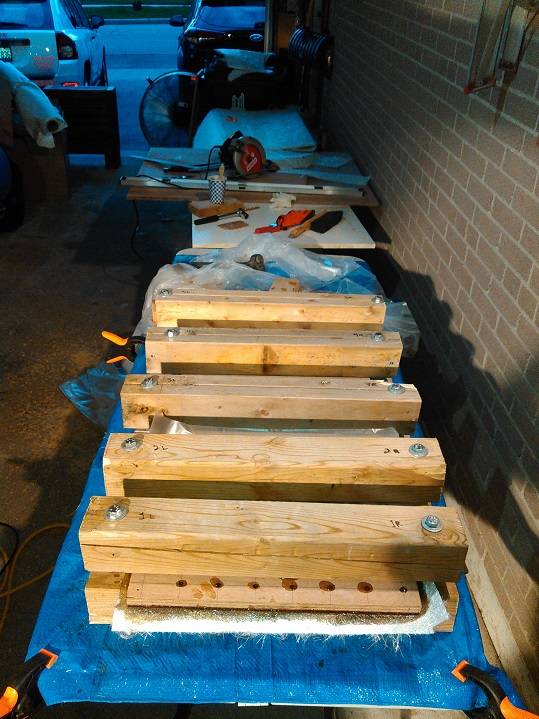
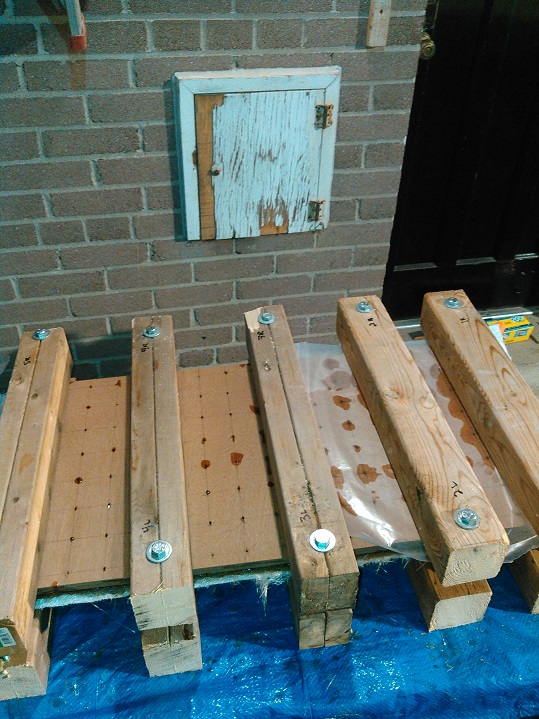
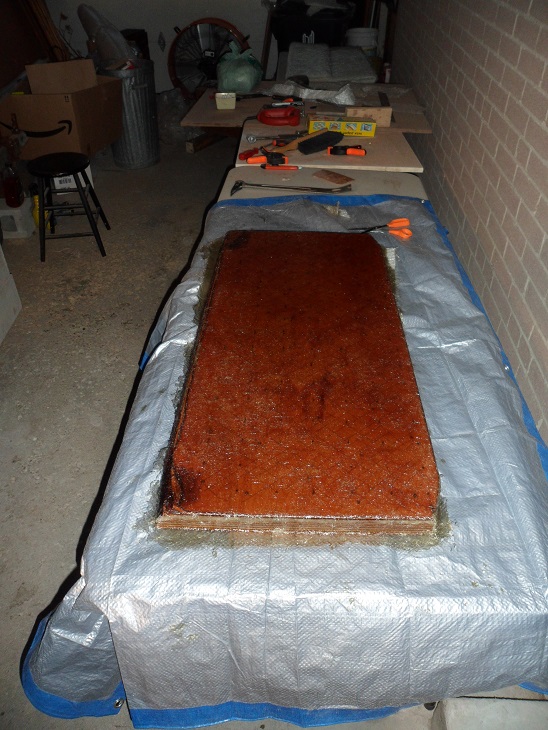
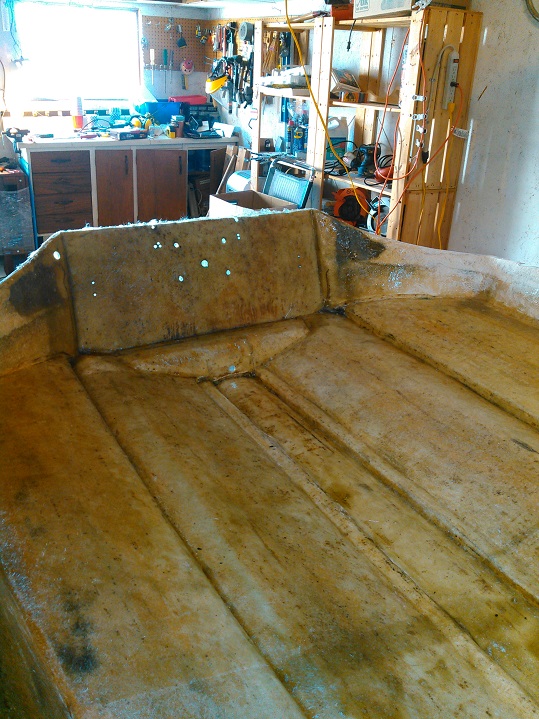
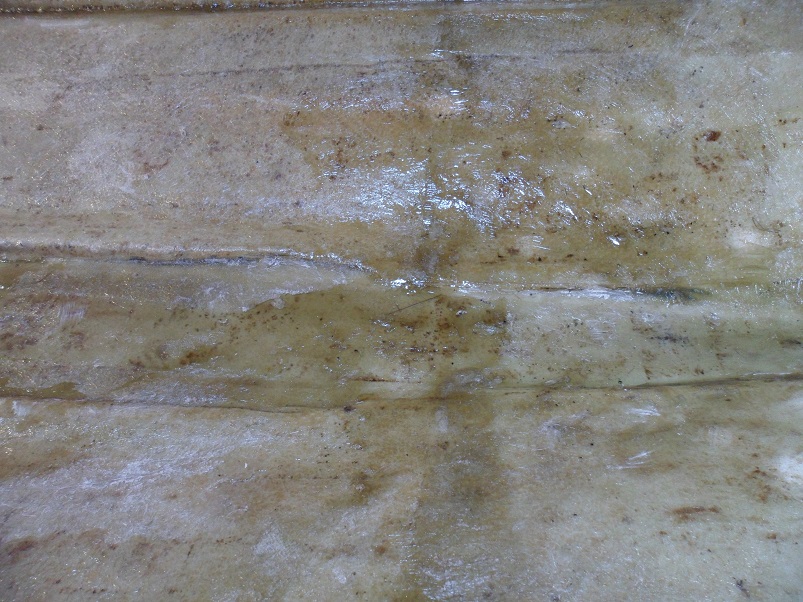
First I patched the holes in the pad with some CSM.
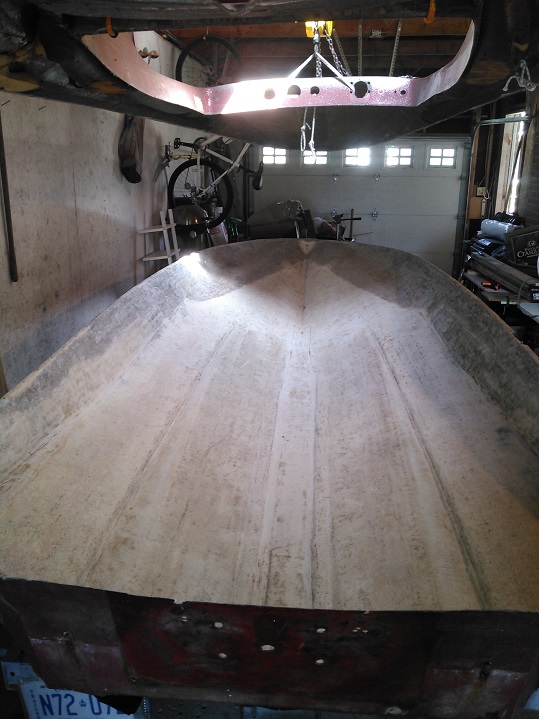
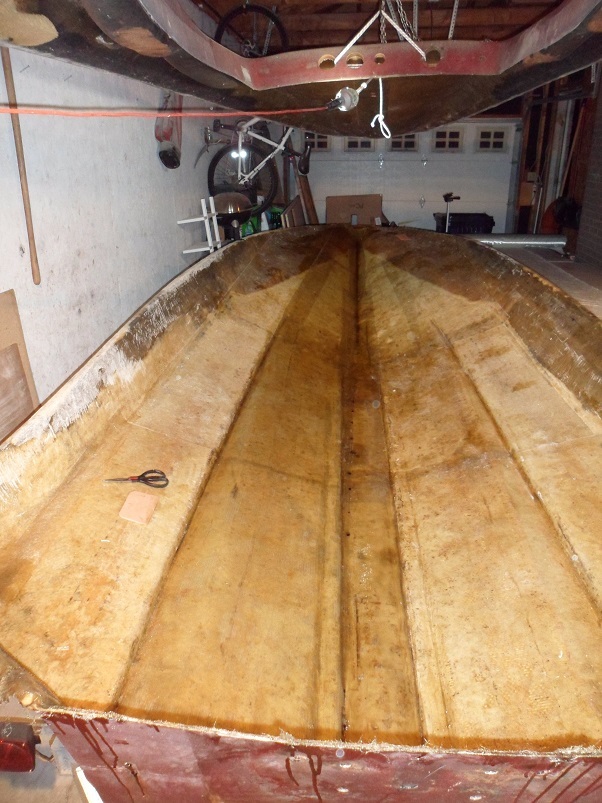
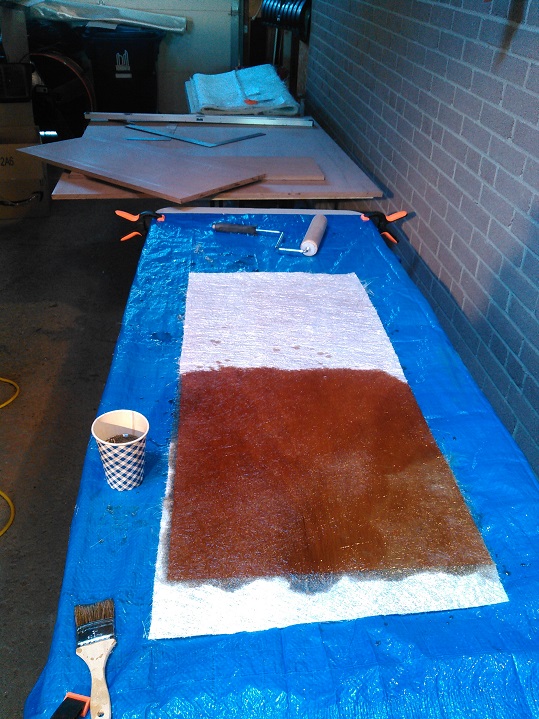
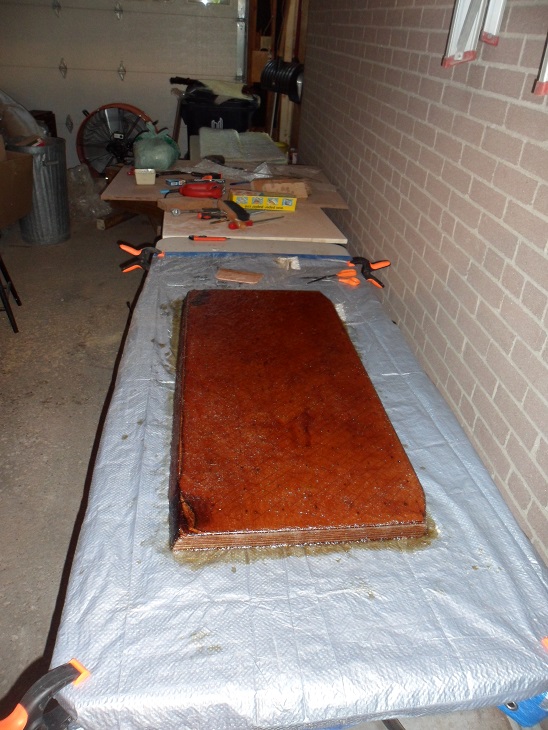
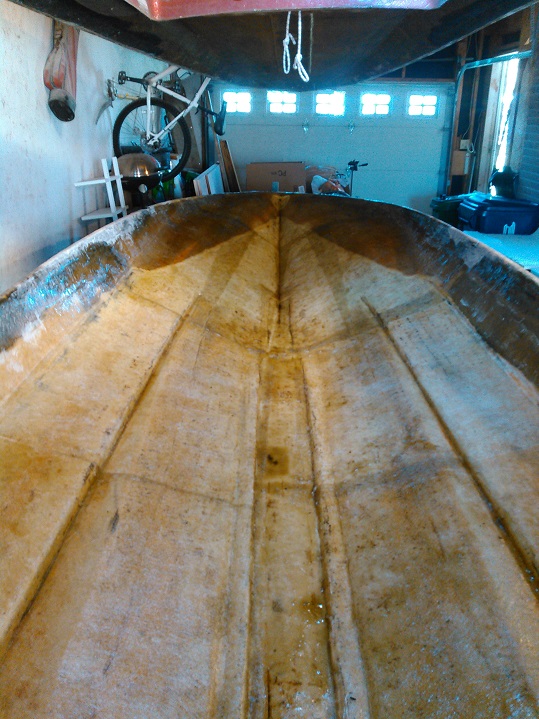
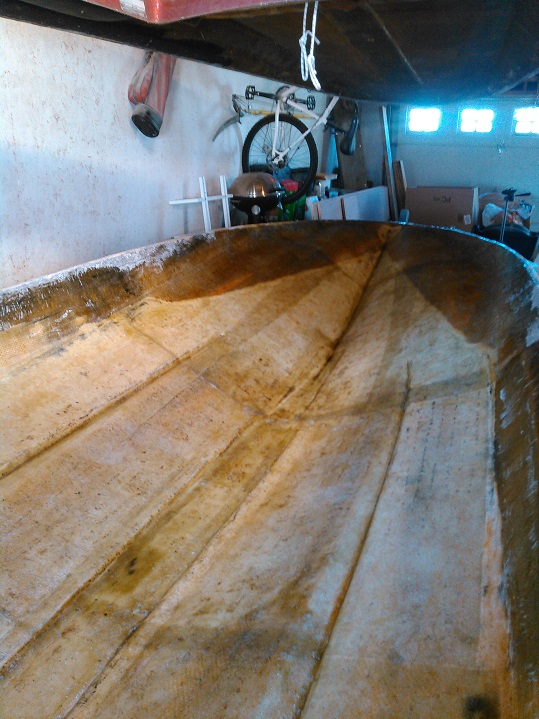
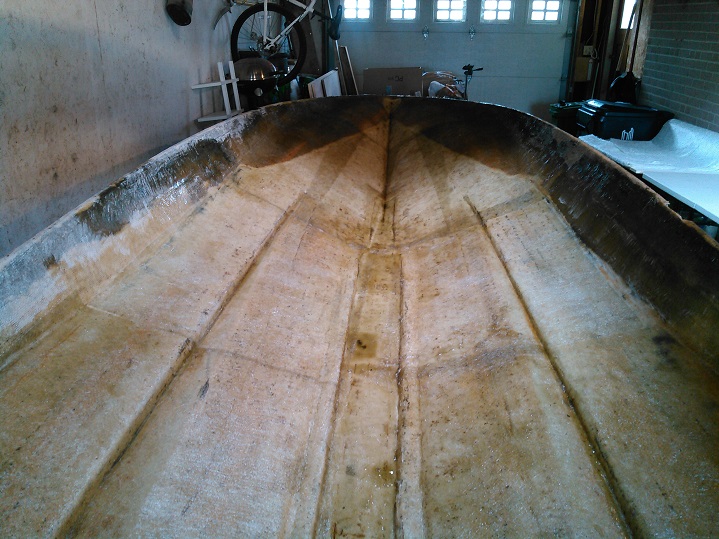
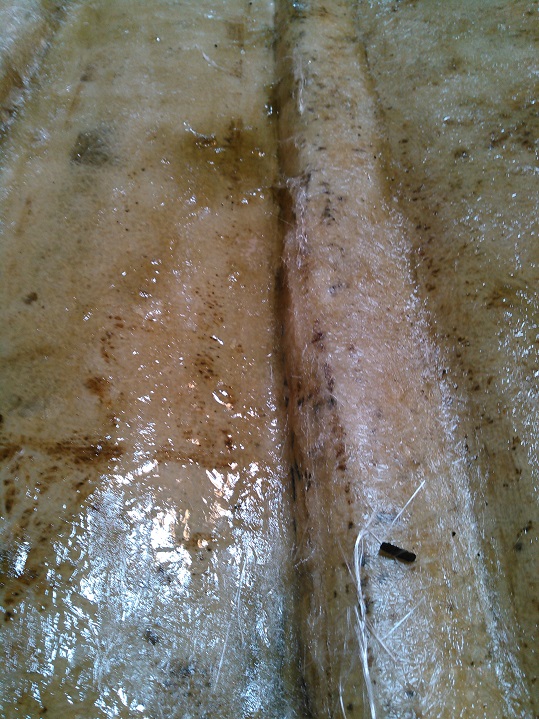
Then started laying down the 1.5oz CSM on the hull.


Now due to the nature of laying the CSM and trying my damndest to get the air bubbles out, I did create some clumps and lumps in the mat that the 1708 hates.
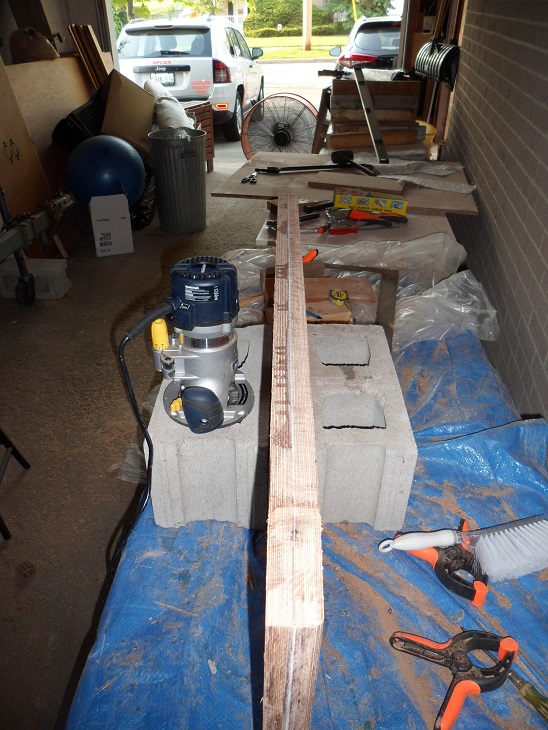
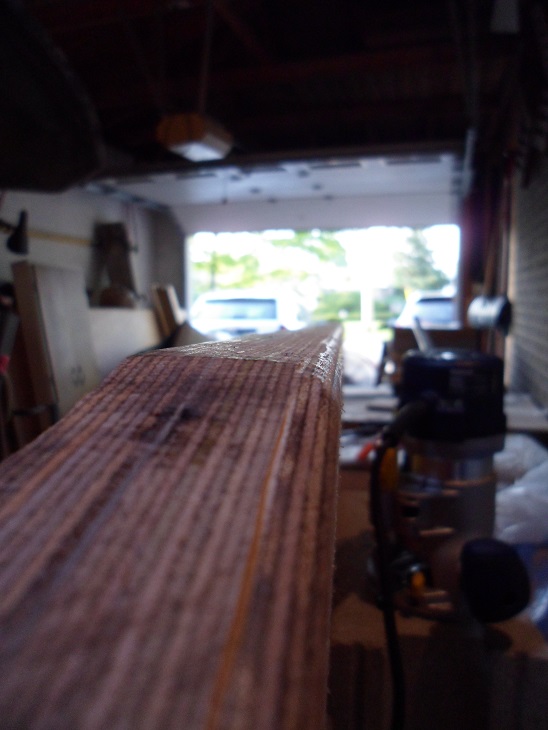
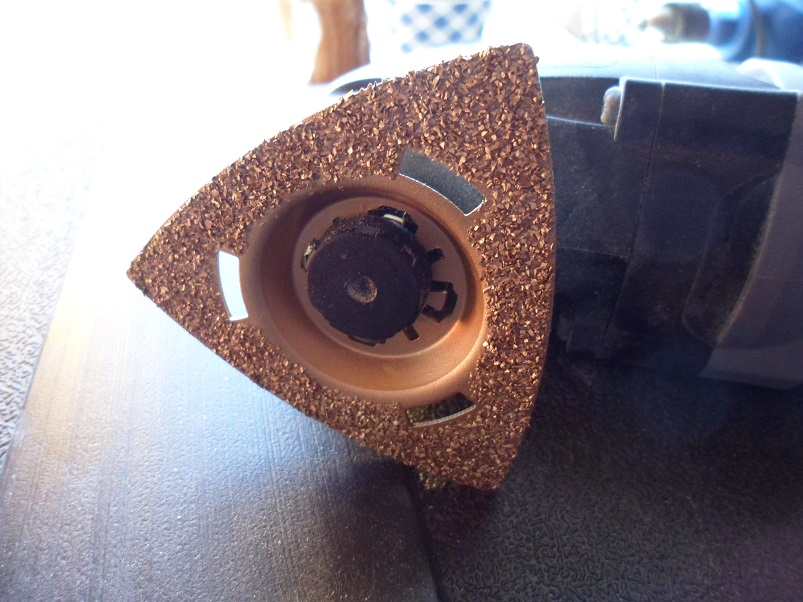
I bought a carbide rasp attachment for my oscillating tool and had to grind down the bumps.
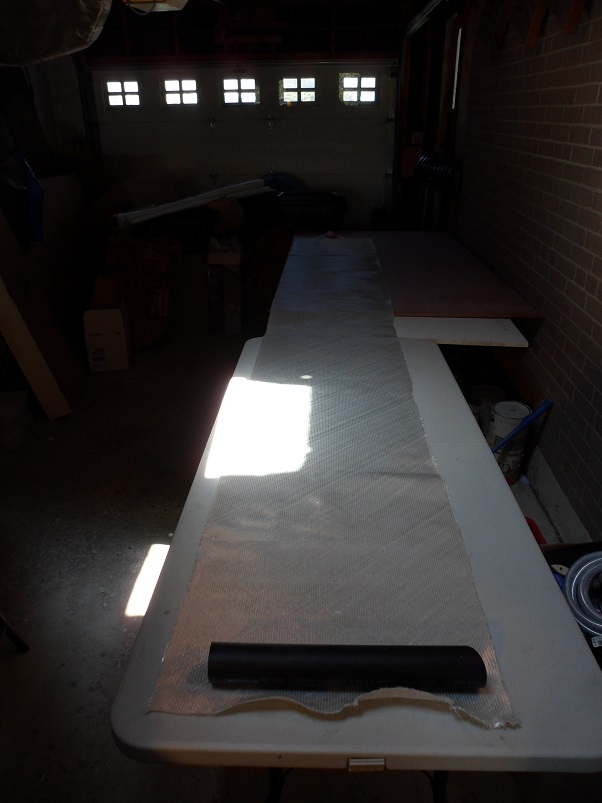
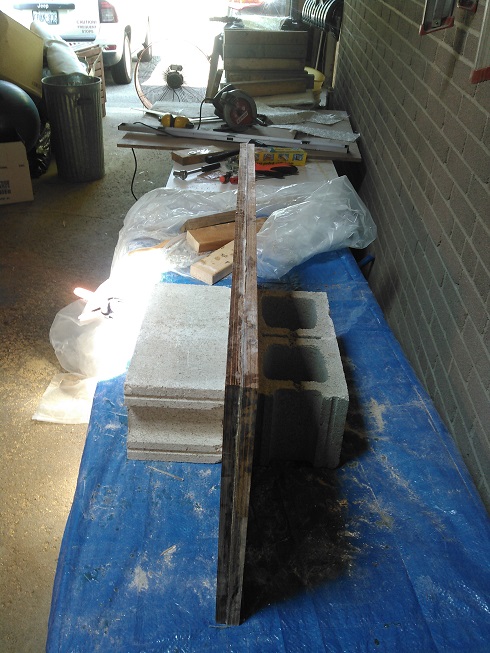
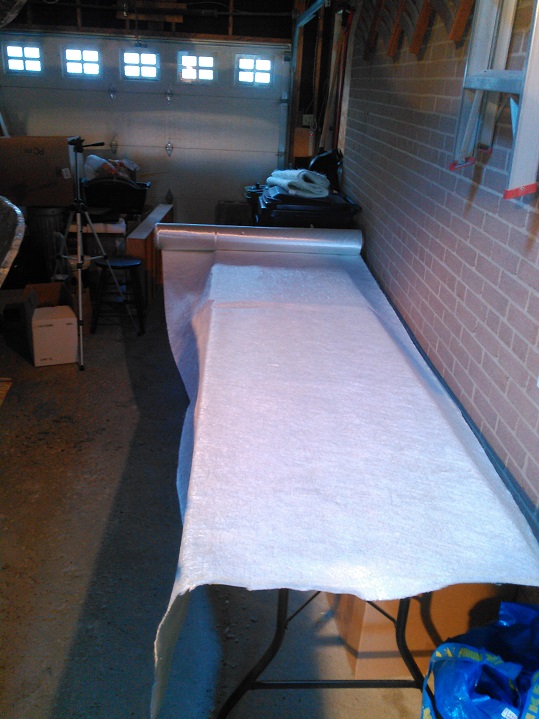
18 yard roll of 50" wide 1708 biaxial. When I bought it I wanted 20 yards, but the roll only had 18 on it so I had said screw it. I'll use this for now and if I need more I'll get more later.

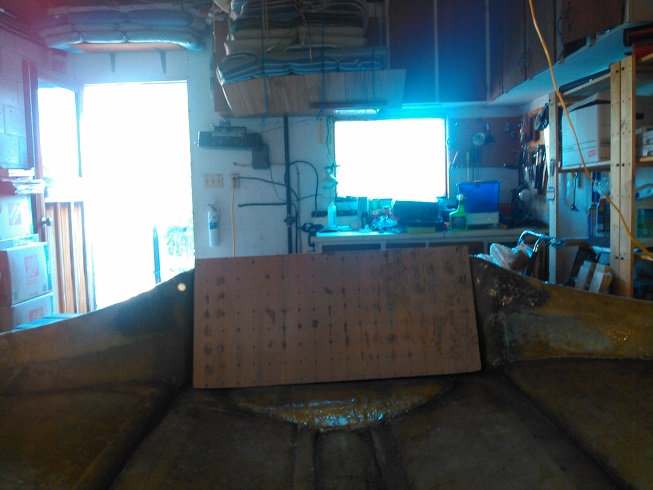
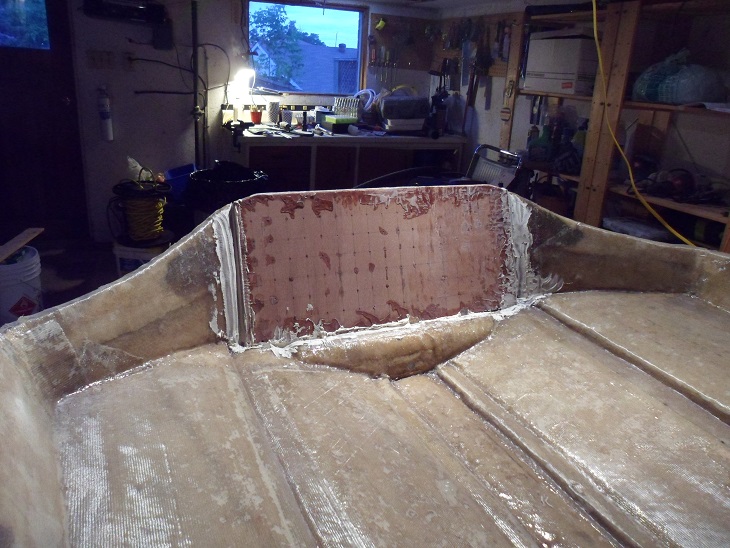
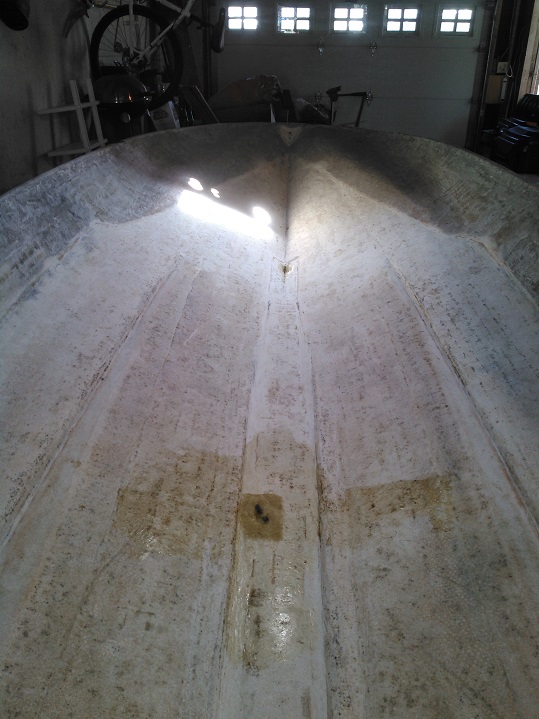
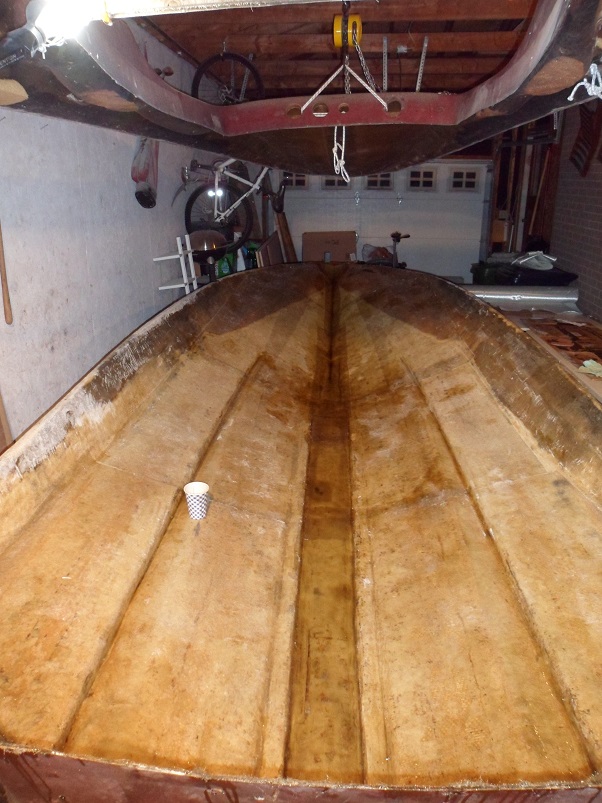
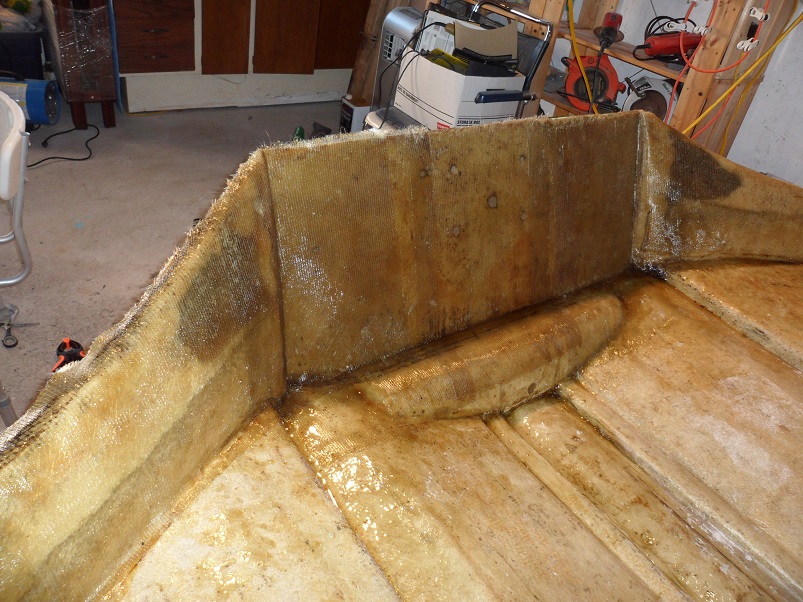
So basically I put a strip of CSM up the pad from the transom up the where the "V" starts.
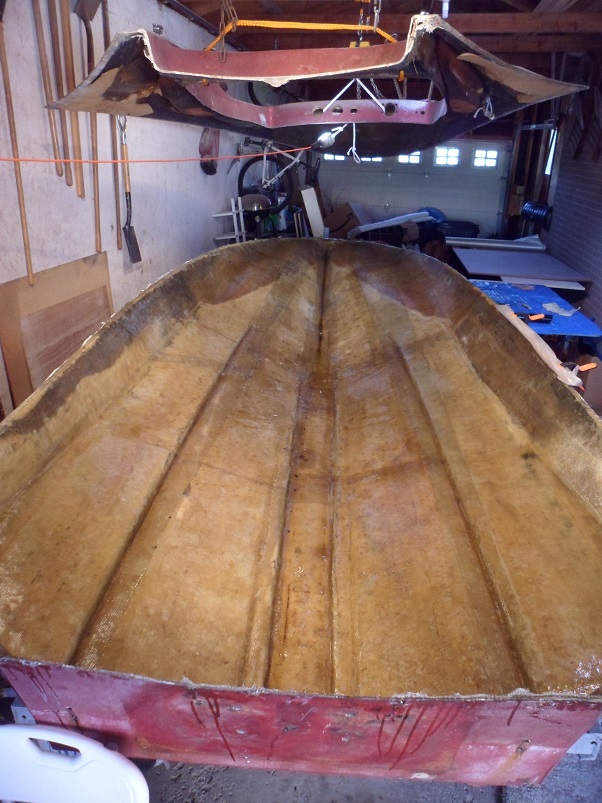
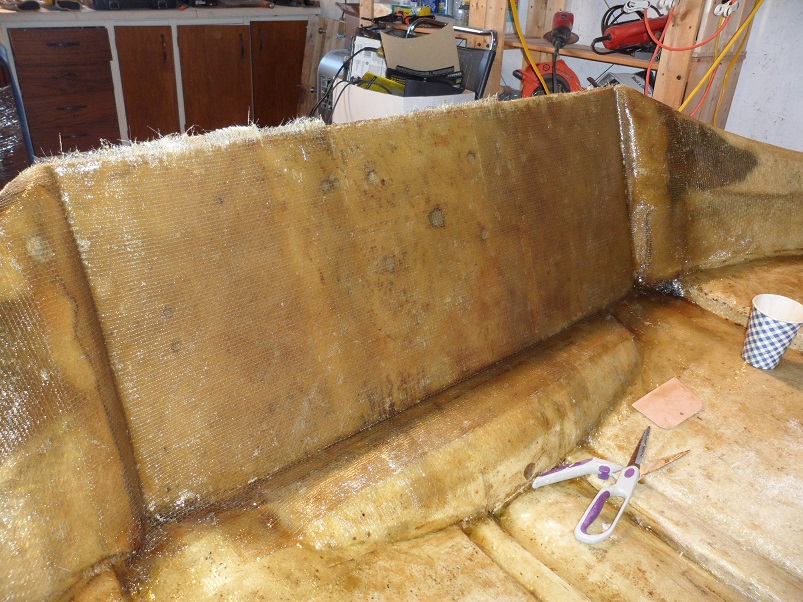
Then I put down (in sections) a layer of CSM over the entire hull, including the transom.
I then added a second layer of CSM on the transom with about 4 inches of overlap on each side.
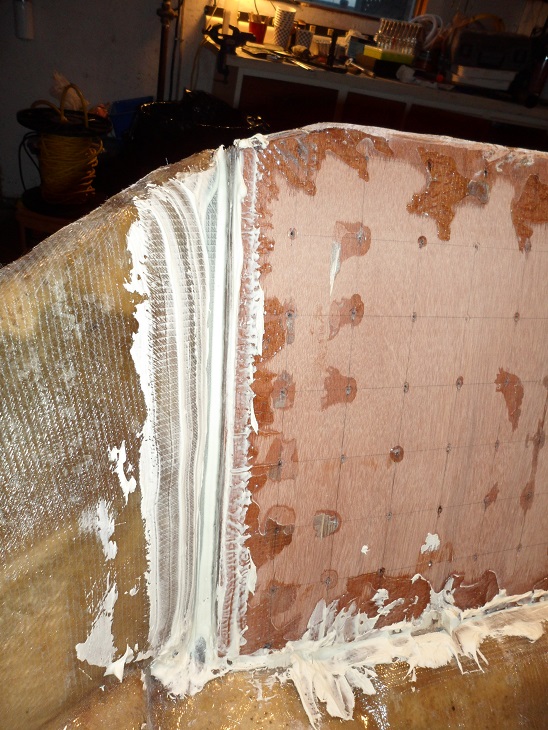
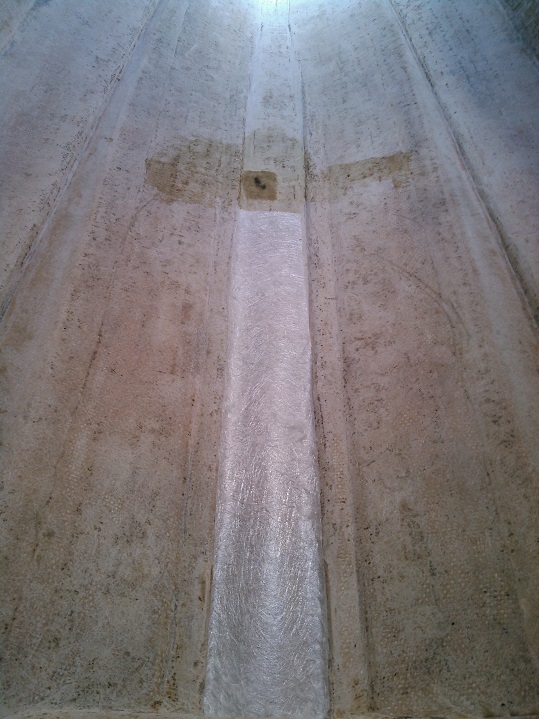
A couple days later I tried laying the first strip of 1708 and discovered that it hates bumps and pointy sharp sections of mat. That's when I had to grind them all down.
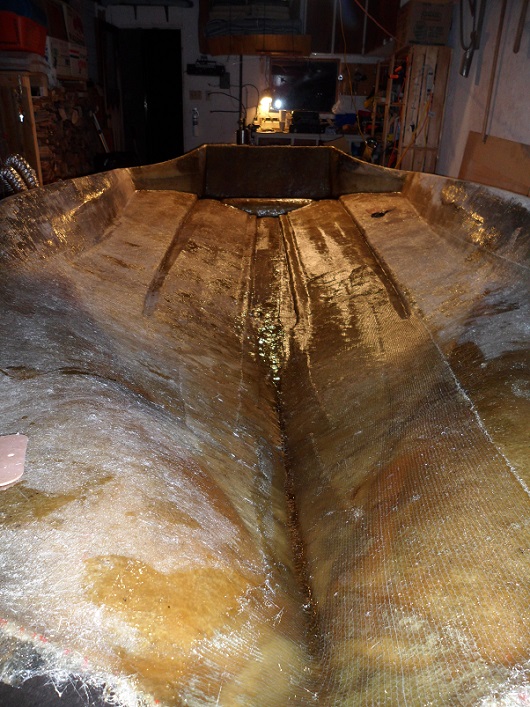
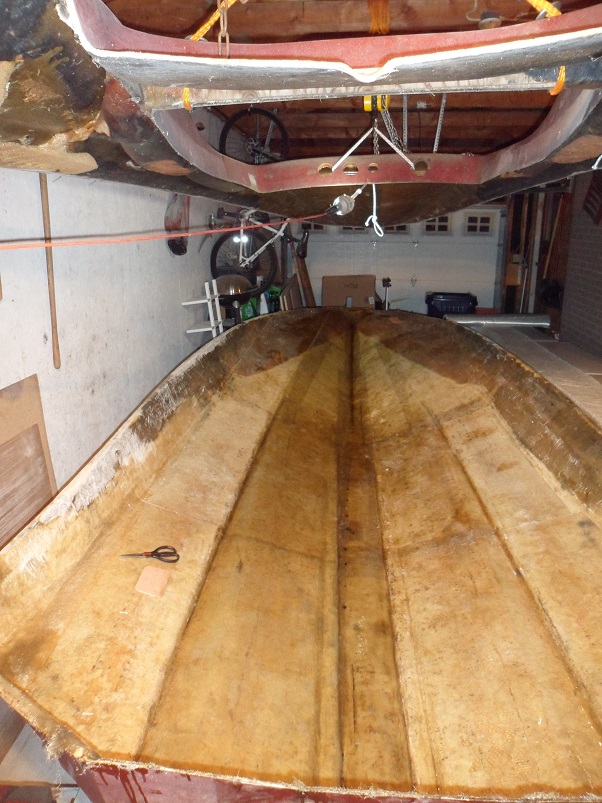
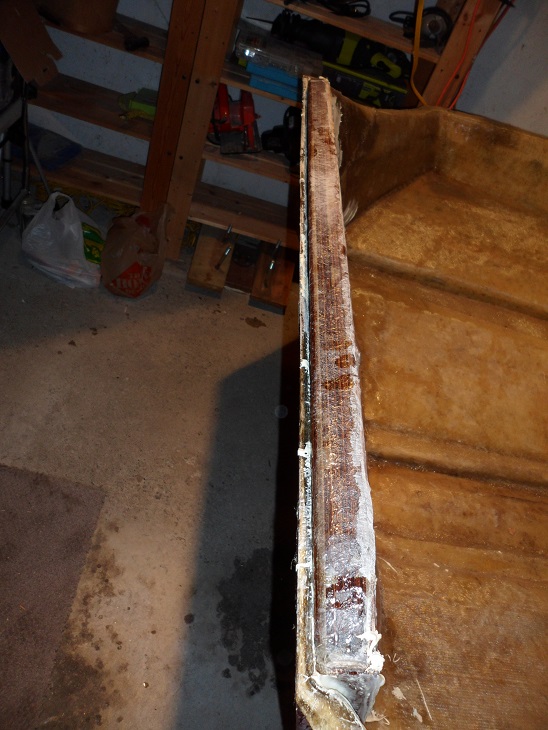
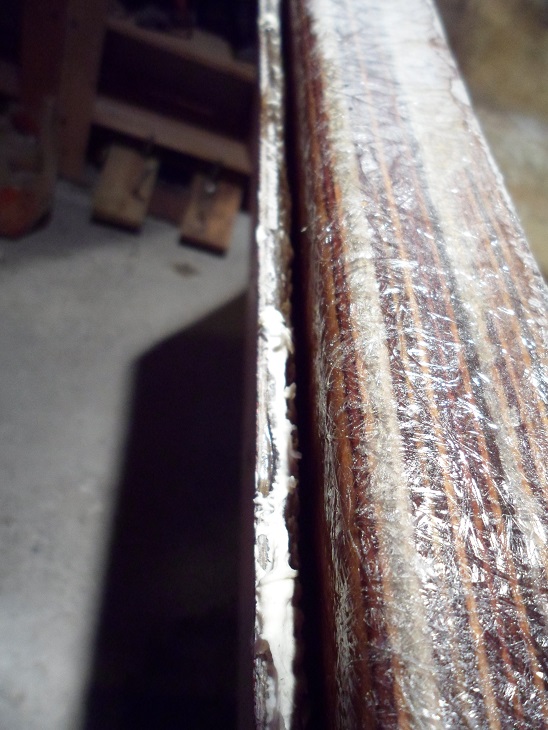
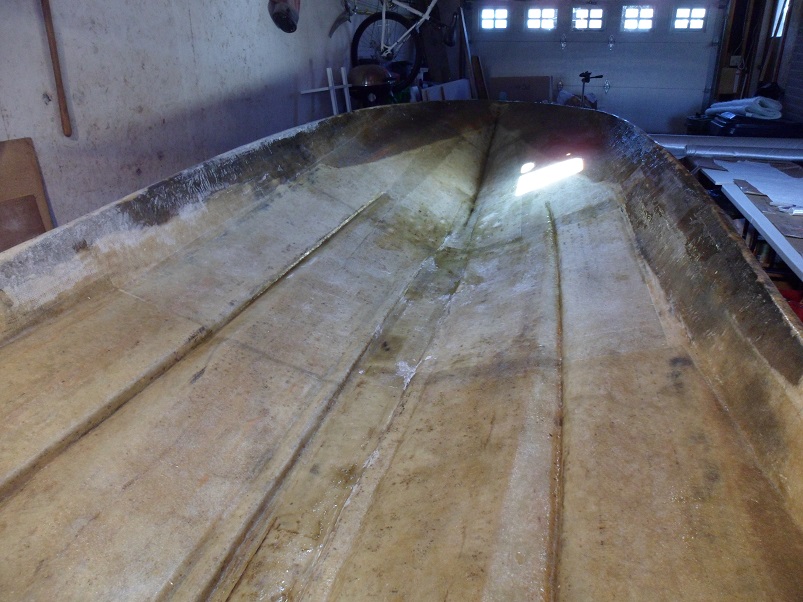
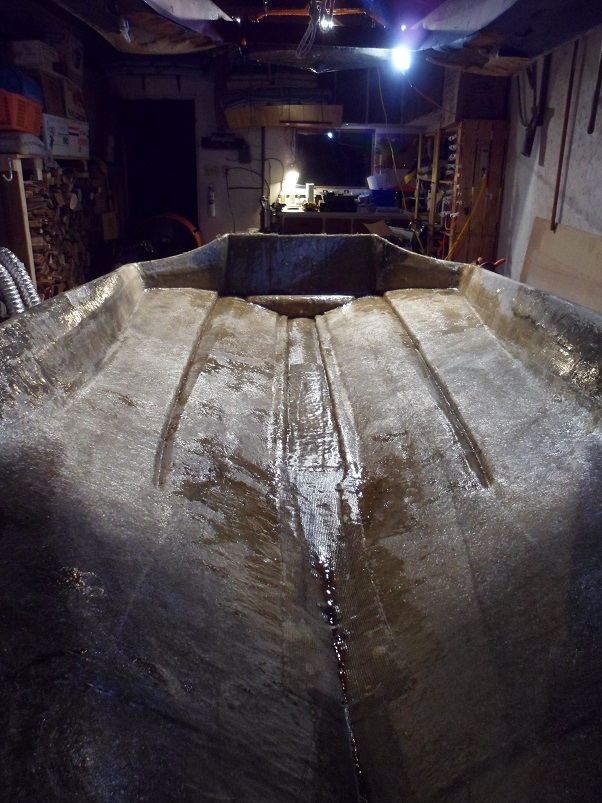
I've got 5 strips of 1708 laid down the pad, with about 2-3 inches of overlap on each strip, from the transom all the way up to the tip of the bow.
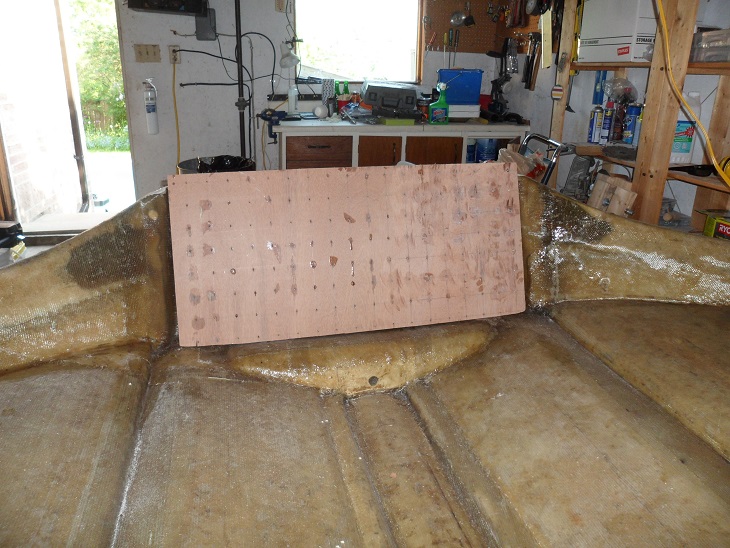
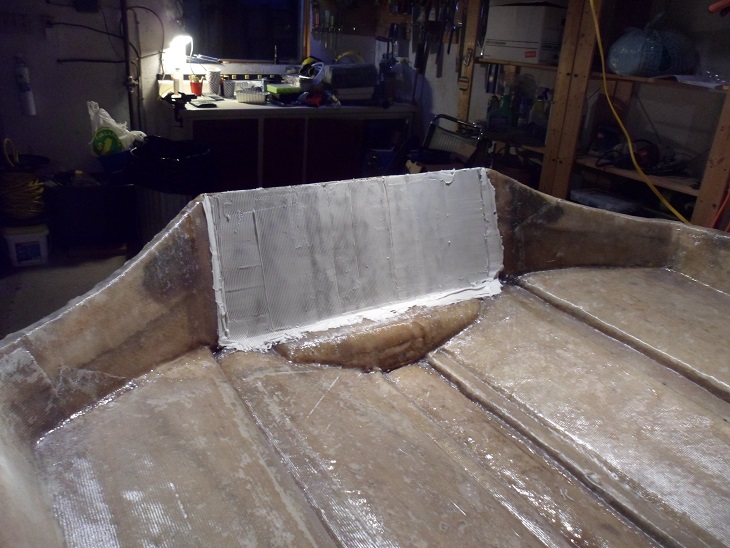
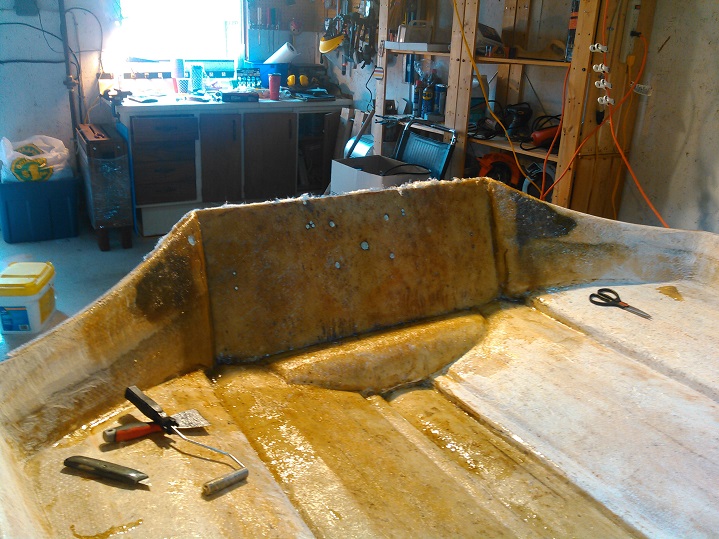
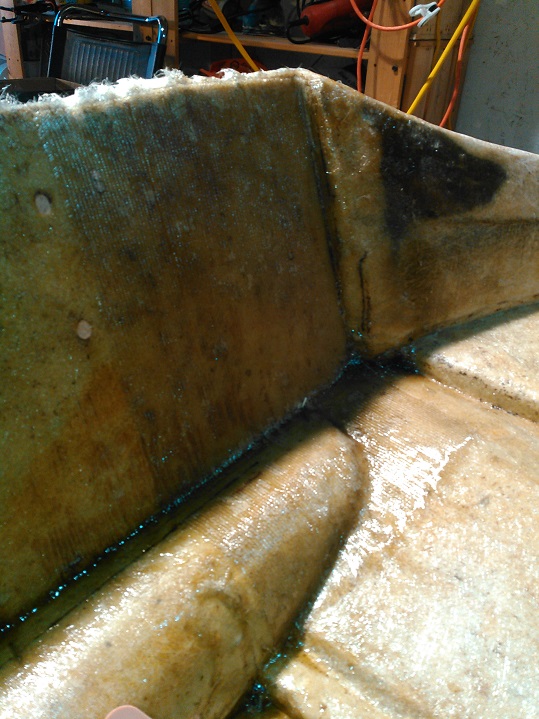
1708 on the transom - this was fun....note the sarcasm.
I put a section down on the port side with about 4 inches overlap on the side "wing", and cut at the bottom to go over that curved transom "notch".
Then another piece centred in the transom with about 1 inch overlap on the port piece. Then another piece with 1 inch overlap on the centre and 4 inches overlap on the starboard side "wing".
The second layer was in 2 sections - each starting at the outer edges of the previous motor mounting holes and onto the "wings" right to their respective corners.
Then finally a 3rd layer of 1708 across the entire transom with about 3 inches overlap onto each side wing and the transom notch.
Overkill? Probably. But I want to build this thing like a tank.
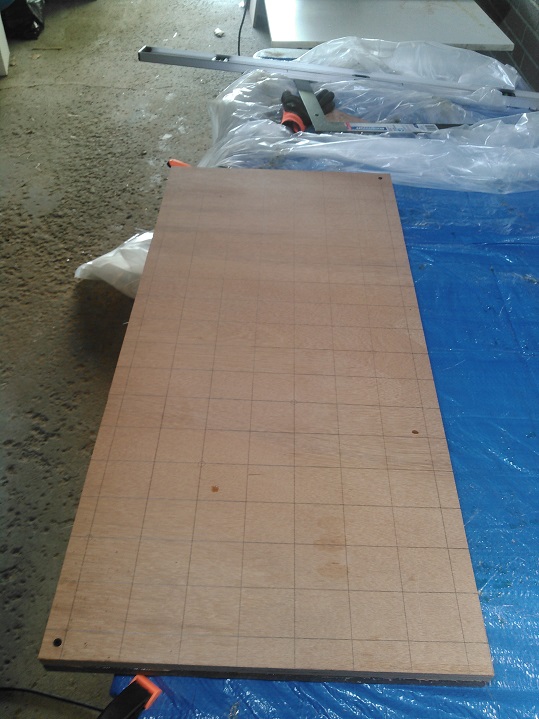
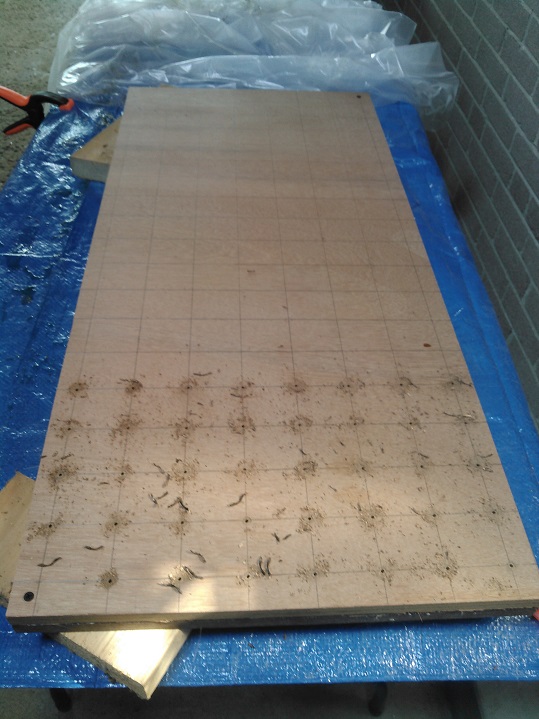
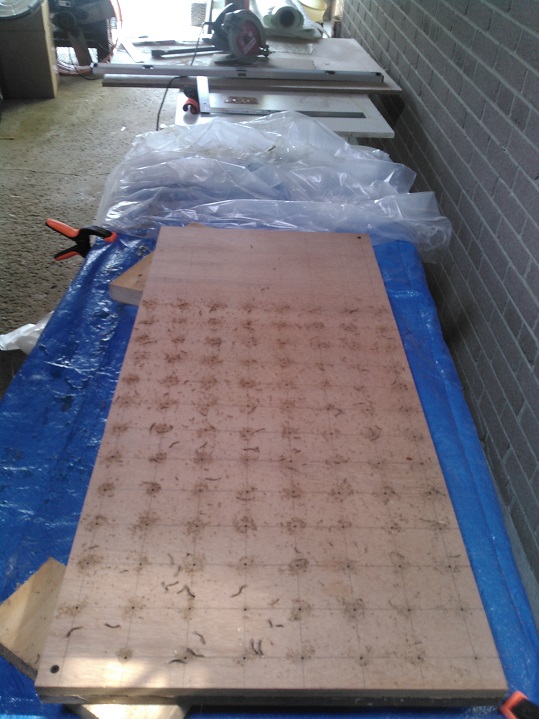
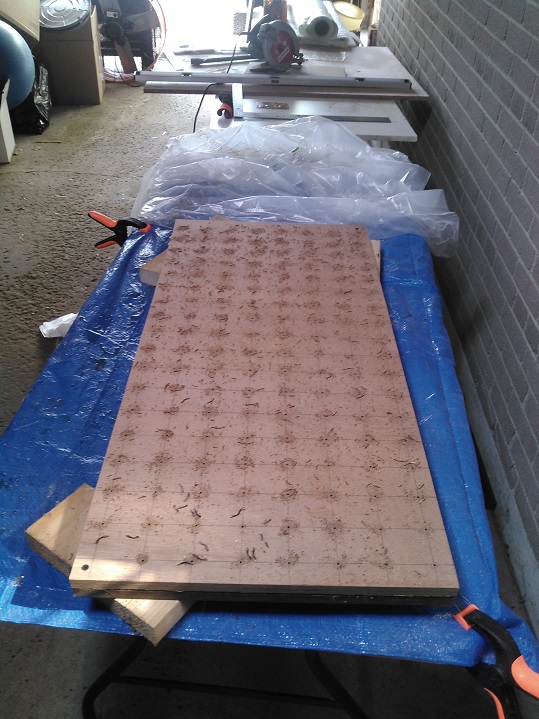
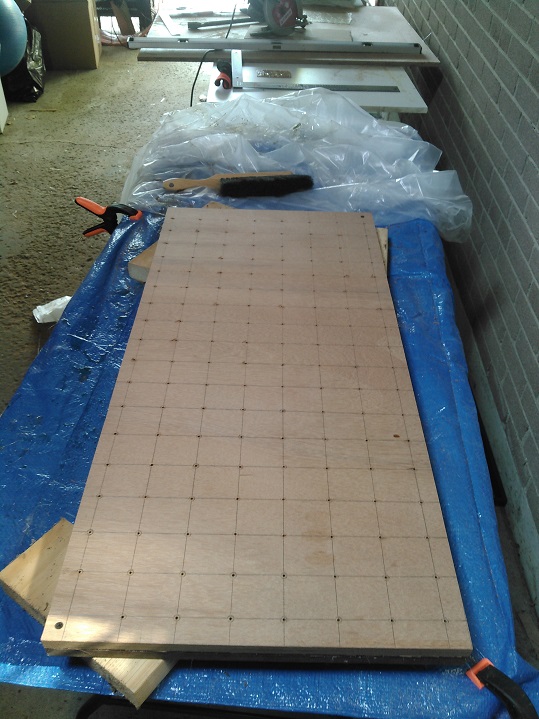
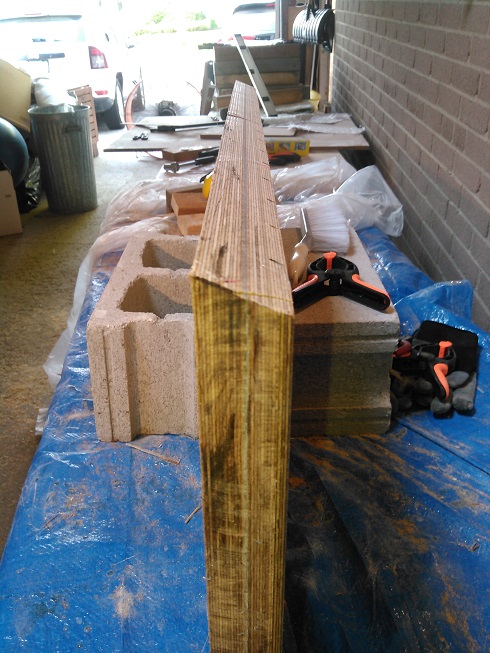
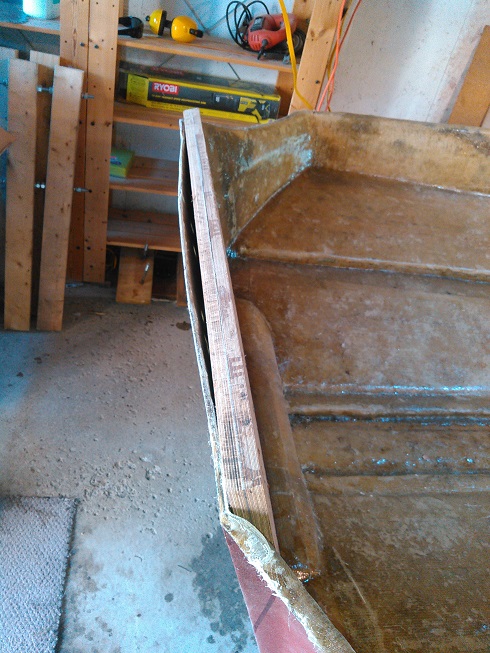
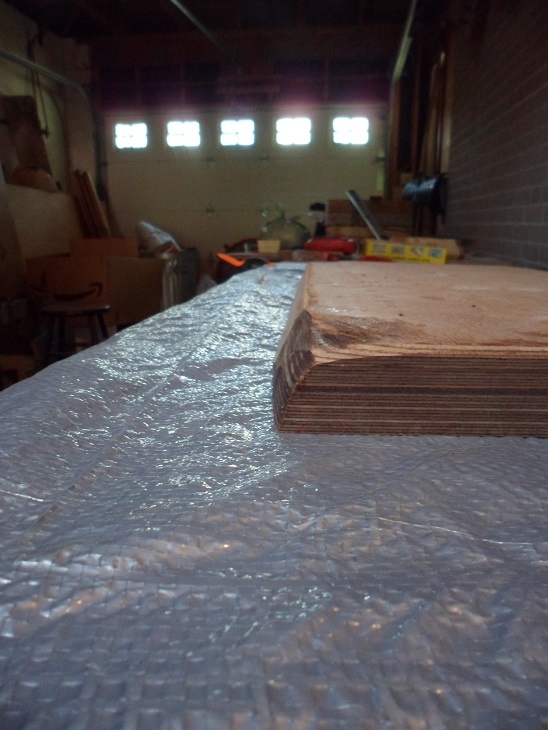
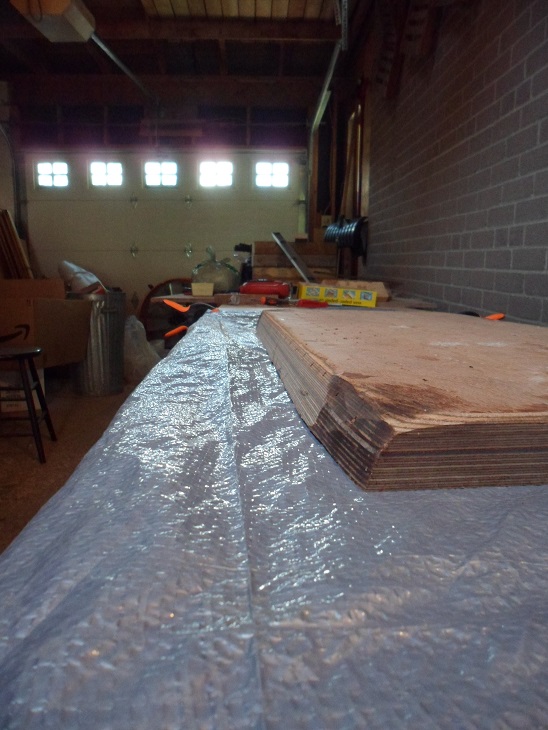
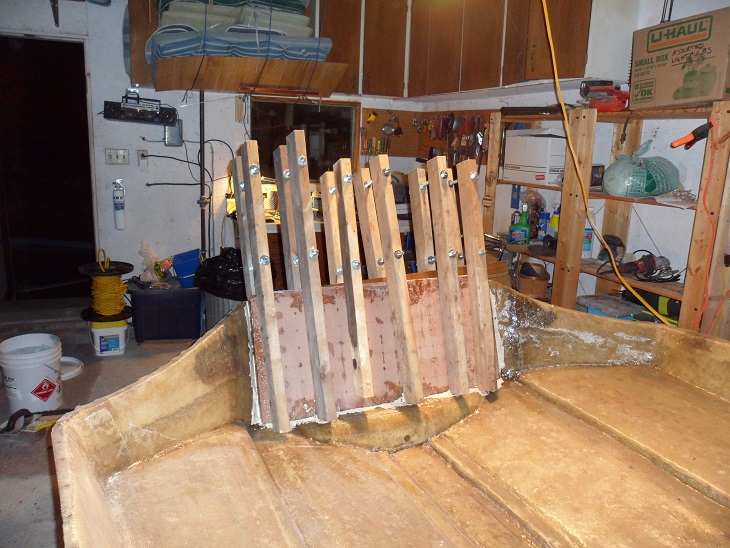
Not pictured: On Tuesday I picked up a 4ft x 8ft sheet of 3/4" marine grade plywood (13-ply) for my transom; and two sheets of 4ft x 10ft 3/4" exterior grade mahogany plywood (11-ply) for my stringers and floor.
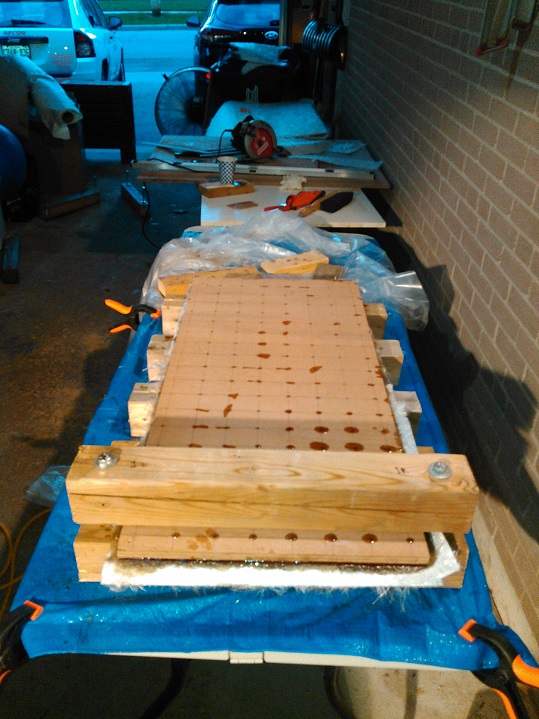
Hopefully this coming week I can get the rest of the hull covered with the 1708, and then prep for the balsa core bagging.
First I patched the holes in the pad with some CSM.
Then started laying down the 1.5oz CSM on the hull.
Now due to the nature of laying the CSM and trying my damndest to get the air bubbles out, I did create some clumps and lumps in the mat that the 1708 hates.
I bought a carbide rasp attachment for my oscillating tool and had to grind down the bumps.
18 yard roll of 50" wide 1708 biaxial. When I bought it I wanted 20 yards, but the roll only had 18 on it so I had said screw it. I'll use this for now and if I need more I'll get more later.
So basically I put a strip of CSM up the pad from the transom up the where the "V" starts.
Then I put down (in sections) a layer of CSM over the entire hull, including the transom.
I then added a second layer of CSM on the transom with about 4 inches of overlap on each side.
A couple days later I tried laying the first strip of 1708 and discovered that it hates bumps and pointy sharp sections of mat. That's when I had to grind them all down.
I've got 5 strips of 1708 laid down the pad, with about 2-3 inches of overlap on each strip, from the transom all the way up to the tip of the bow.
1708 on the transom - this was fun....note the sarcasm.
I put a section down on the port side with about 4 inches overlap on the side "wing", and cut at the bottom to go over that curved transom "notch".
Then another piece centred in the transom with about 1 inch overlap on the port piece. Then another piece with 1 inch overlap on the centre and 4 inches overlap on the starboard side "wing".
The second layer was in 2 sections - each starting at the outer edges of the previous motor mounting holes and onto the "wings" right to their respective corners.
Then finally a 3rd layer of 1708 across the entire transom with about 3 inches overlap onto each side wing and the transom notch.
Overkill? Probably. But I want to build this thing like a tank.
Not pictured: On Tuesday I picked up a 4ft x 8ft sheet of 3/4" marine grade plywood (13-ply) for my transom; and two sheets of 4ft x 10ft 3/4" exterior grade mahogany plywood (11-ply) for my stringers and floor.
Hopefully this coming week I can get the rest of the hull covered with the 1708, and then prep for the balsa core bagging.